

A tenant move in checklist template is a game-changing document for any landlord. It’s a detailed record of your rental property's condition right before a new tenant moves in. Both you and the tenant go through it, creating an agreed-upon baseline that can save you from major headaches down the road, especially when it comes to the security deposit. It’s a room-by-room, feature-by-feature breakdown, noting any dings, scratches, or issues that already exist.
Why This Checklist Is Your Most Important Document
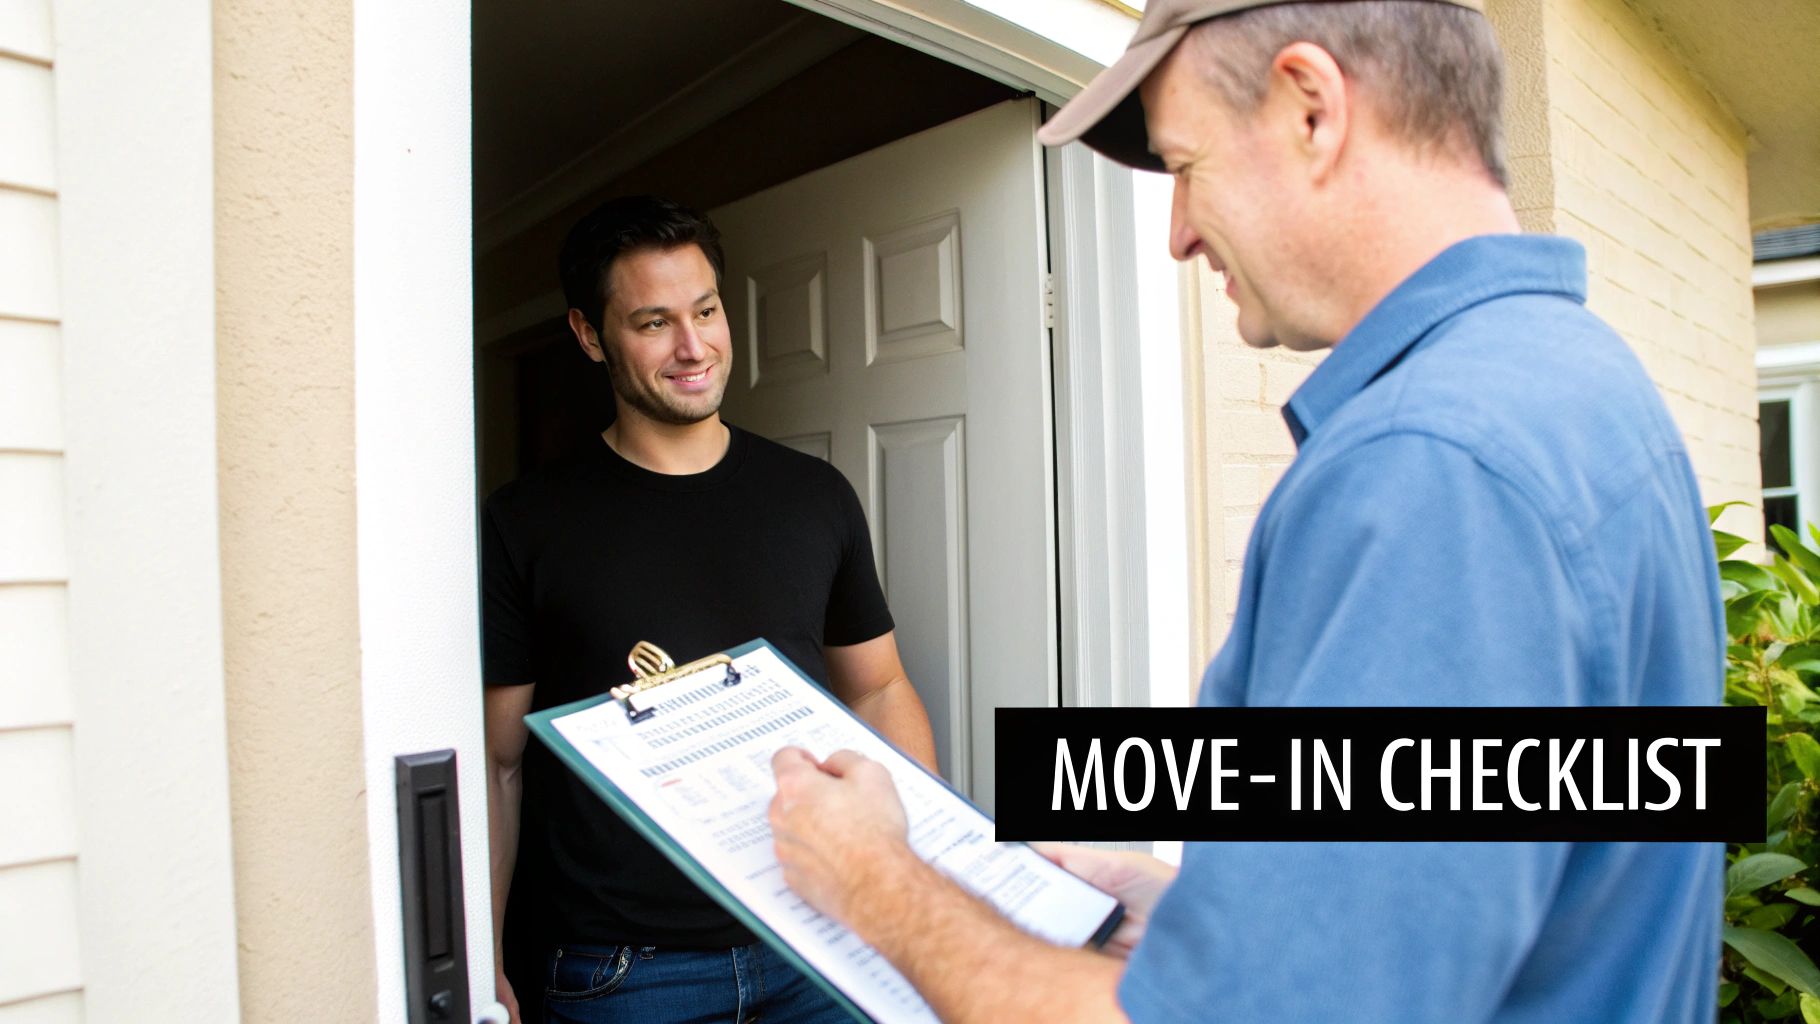
Move-in day is a whirlwind. Between the boxes, the movers, and the general chaos, it’s all too easy to rush through the paperwork just to get it done. But trust me on this—the move-in checklist is way more than just another form. It’s the foundational document that sets the entire tone for the tenancy and legally protects your investment.
Think of it as your best line of defense against security deposit disputes. By creating a detailed, signed record of the property's condition from the moment you hand over the keys, you're wiping out any ambiguity. This prevents those frustrating "he said, she said" arguments when the tenant eventually moves out.
Setting Clear Expectations From Day One
Let’s play out a common scenario. A tenant moves out, and you find deep scratches all over the hardwood floors. Without a checklist showing the floors were in perfect shape at move-in, the tenant can easily claim the damage was already there. Suddenly, you're in a tough spot, facing a potential legal fight over a few hundred dollars. A solid checklist transforms that potential conflict into a simple, evidence-based conversation.
This document also works hand-in-hand with your other essential rental forms. The specifics noted on the checklist directly back up the terms you’ve laid out in your lease agreement. If you're currently building out your landlord toolkit, you might find our guide on crafting a solid rental lease agreement template helpful.
A Tool for Trust and Professionalism
Walking through the property with a new tenant, checklist in hand, immediately shows you’re a professional. It proves you're a diligent landlord who cares about maintaining the property and, more importantly, about being fair. It's a simple gesture, but it builds a foundation of trust and encourages tenants to take better care of their new home.
The move-in inspection isn't just about finding flaws; it's a critical communication tool that establishes a baseline of trust and mutual respect between a landlord and a new tenant.
With up to 37% of U.S. households now renter-occupied, having these kinds of documented processes is more crucial than ever. That's a huge chunk of the housing market, highlighting why smart, modern property management relies on solid systems to manage tenant relationships effectively.
One detail that often gets missed is the condition of the floors. Understanding the importance of carpet cleaning on your move-in/out checklist can spare you a lot of grief later on.
At the end of the day, the move-in checklist isn't an administrative burden. It's a powerful risk management tool that safeguards your asset and kicks off a positive landlord-tenant relationship from the very beginning.
Building a Bulletproof Checklist Template
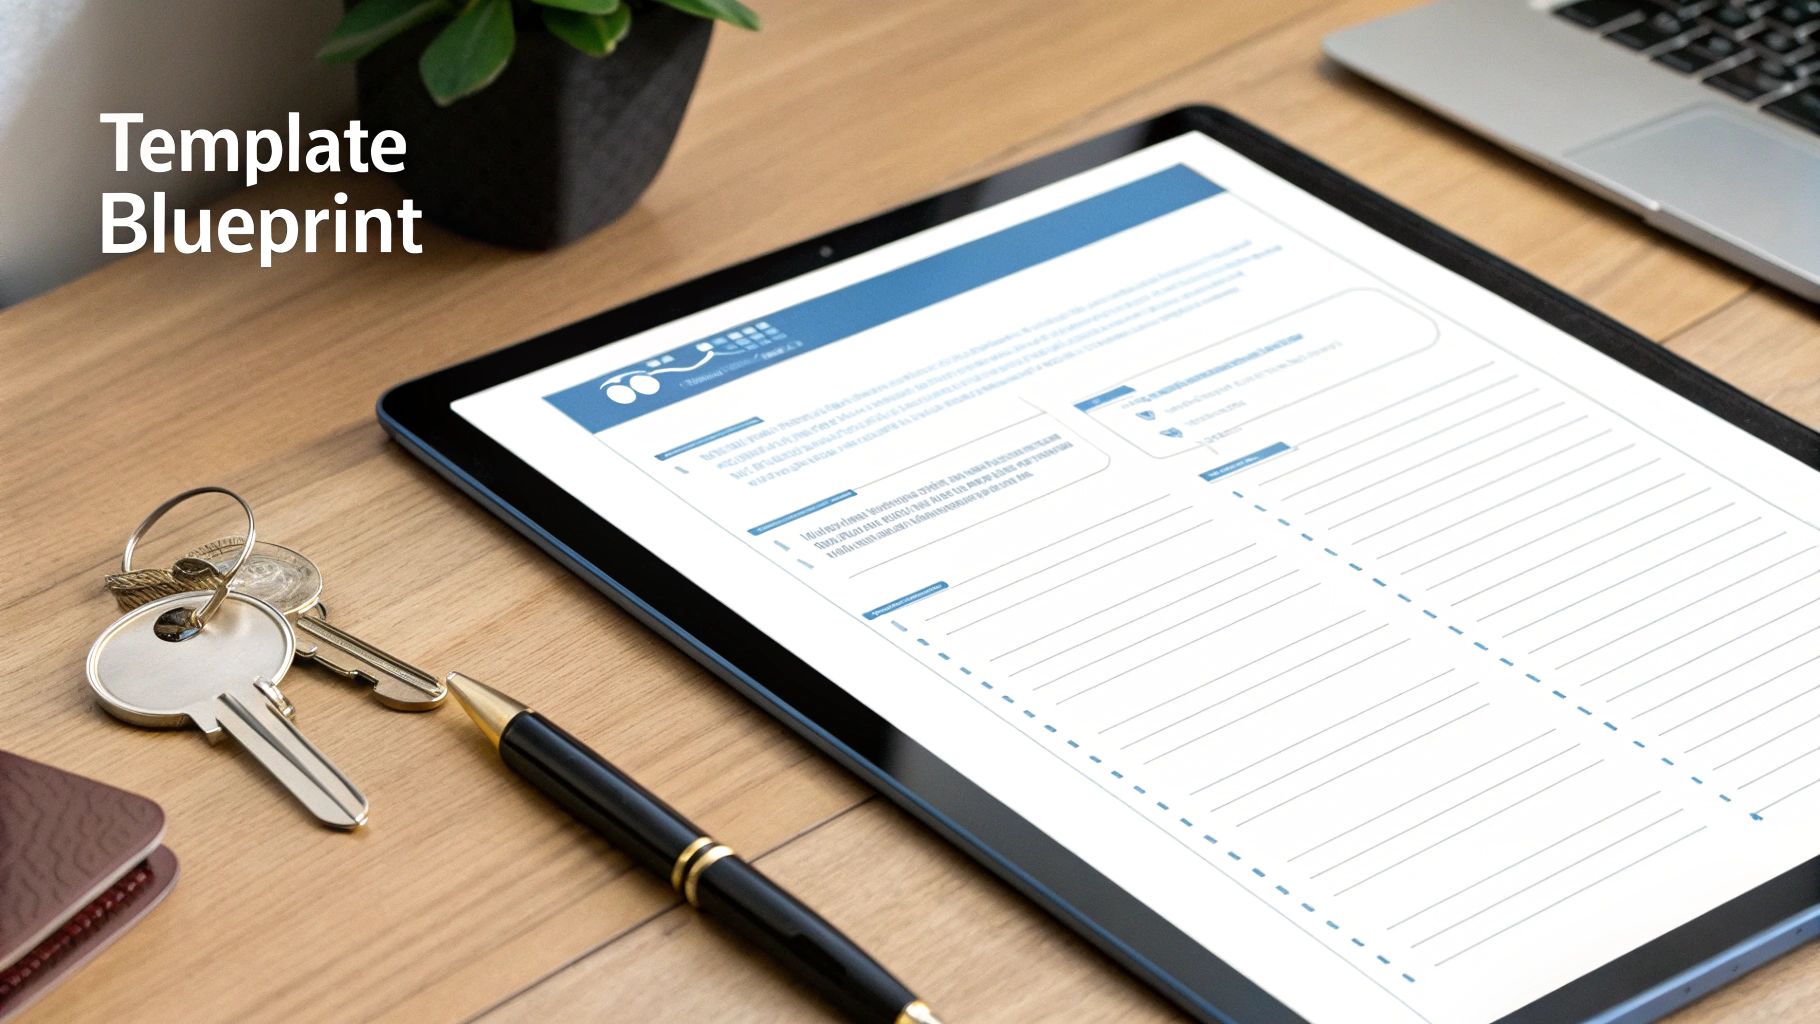
Let's get one thing straight: creating a reusable tenant move in checklist template is about building a system, not just a to-do list. Sure, you can download a generic document online, but a truly effective checklist is one that’s been fine-tuned for your properties and your process.
The end goal is to build a master document that leaves no stone unturned. It should be ironclad enough to protect your investment but still clear and straightforward for your new tenants. A well-organized checklist is your single best tool for shutting down security deposit disputes before they even start.
Laying the Administrative Foundation
Before you even think about checking for scuffs on the living room wall, your checklist needs to lock down all the essential administrative details. This section is the official record of the tenancy's start, tying the inspection directly to the specific tenant, property, and lease agreement.
Think of it as the cover page for your property's condition report. It’s non-negotiable and has to be filled out meticulously every single time.
Make sure you have fields for:
- Property Address: The complete, unambiguous address of the unit.
- Tenant Information: The full legal names of every adult on the lease.
- Landlord/Agent Information: Your name or your property management company’s name.
- Move-In Date: The official date the lease kicks off and the inspection takes place.
- Signatures and Dates: Dedicated lines for both you and the tenant to sign, showing mutual agreement on the property's condition.
Documenting Utilities and Keys
Right after the administrative details, you need a spot to document utilities and property access. These are the practical things that get lost in the shuffle of move-in day but are absolutely critical for a smooth start.
Take meter readings, for instance. Recording the gas, electric, and water meter numbers creates a clean financial cutoff. It’s a simple step that completely eliminates arguments over who owes what on that first utility bill.
Capturing utility meter readings and key codes on the move-in checklist provides undeniable proof of the property's status at handover. This small detail can prevent significant financial and logistical headaches for both parties.
The same goes for keys. Itemizing every single key, remote, or fob you hand over ensures you get them all back at move-out. Get specific—note how many house keys, mailbox keys, and garage door openers were provided. This simple act of documentation holds the tenant accountable for all entry devices from day one.
Crafting the Room-by-Room Inspection
This is the real heart of your tenant move in checklist template. The trick here is to break the property down into logical, manageable sections—usually room by room. For each room, you'll want a sub-list of every single feature and fixture that needs a once-over.
Don't just write "walls" and "floors." You have to get more granular than that. A good template should guide both you and the tenant to look at the details.
To make sure nothing gets missed, I organize my checklists with a simple table structure. It provides a standardized way to rate conditions while leaving room for specific notes on any existing damage.
Essential Components of a Tenant Move In Checklist
| Section Category | Key Items to Include | Purpose |
|---|---|---|
| General & Entryway | Doors, locks, doorbell, flooring, walls, ceiling, light fixtures, smoke detectors. | To establish the overall condition and safety features at the entrance of the property. |
| Living Room | Windows, screens, blinds/curtains, outlets, switches, fireplace, carpet/flooring. | To document the condition of the main shared living space, a high-traffic area. |
| Kitchen | All appliances (fridge, oven, dishwasher, microwave), sink, disposal, countertops, cabinets, drawers. | To confirm the functionality and cosmetic condition of expensive appliances and fixtures. |
| Bedrooms | Closet doors, shelves, windows, light fixtures, outlets, flooring. | To ensure personal living spaces are in good repair and ready for occupancy. |
| Bathrooms | Toilet, sink, shower/tub, exhaust fan, mirrors, cabinets, tile/grout, plumbing. | To check for leaks, mold, or functional issues with critical plumbing systems. |
| Exterior & Other | Patio/deck, landscaping, garage, mailbox, exterior lights, fence/gates. | To cover all areas outside the main living space that are the tenant's responsibility. |
For every single item on this list, I include columns for "Condition (Good, Fair, Poor)" and a much larger space for "Tenant Notes/Comments." This two-part structure is what turns a simple checklist into a robust, defensive document that can save you a world of trouble down the line.
The Room-by-Room Inspection Walkthrough
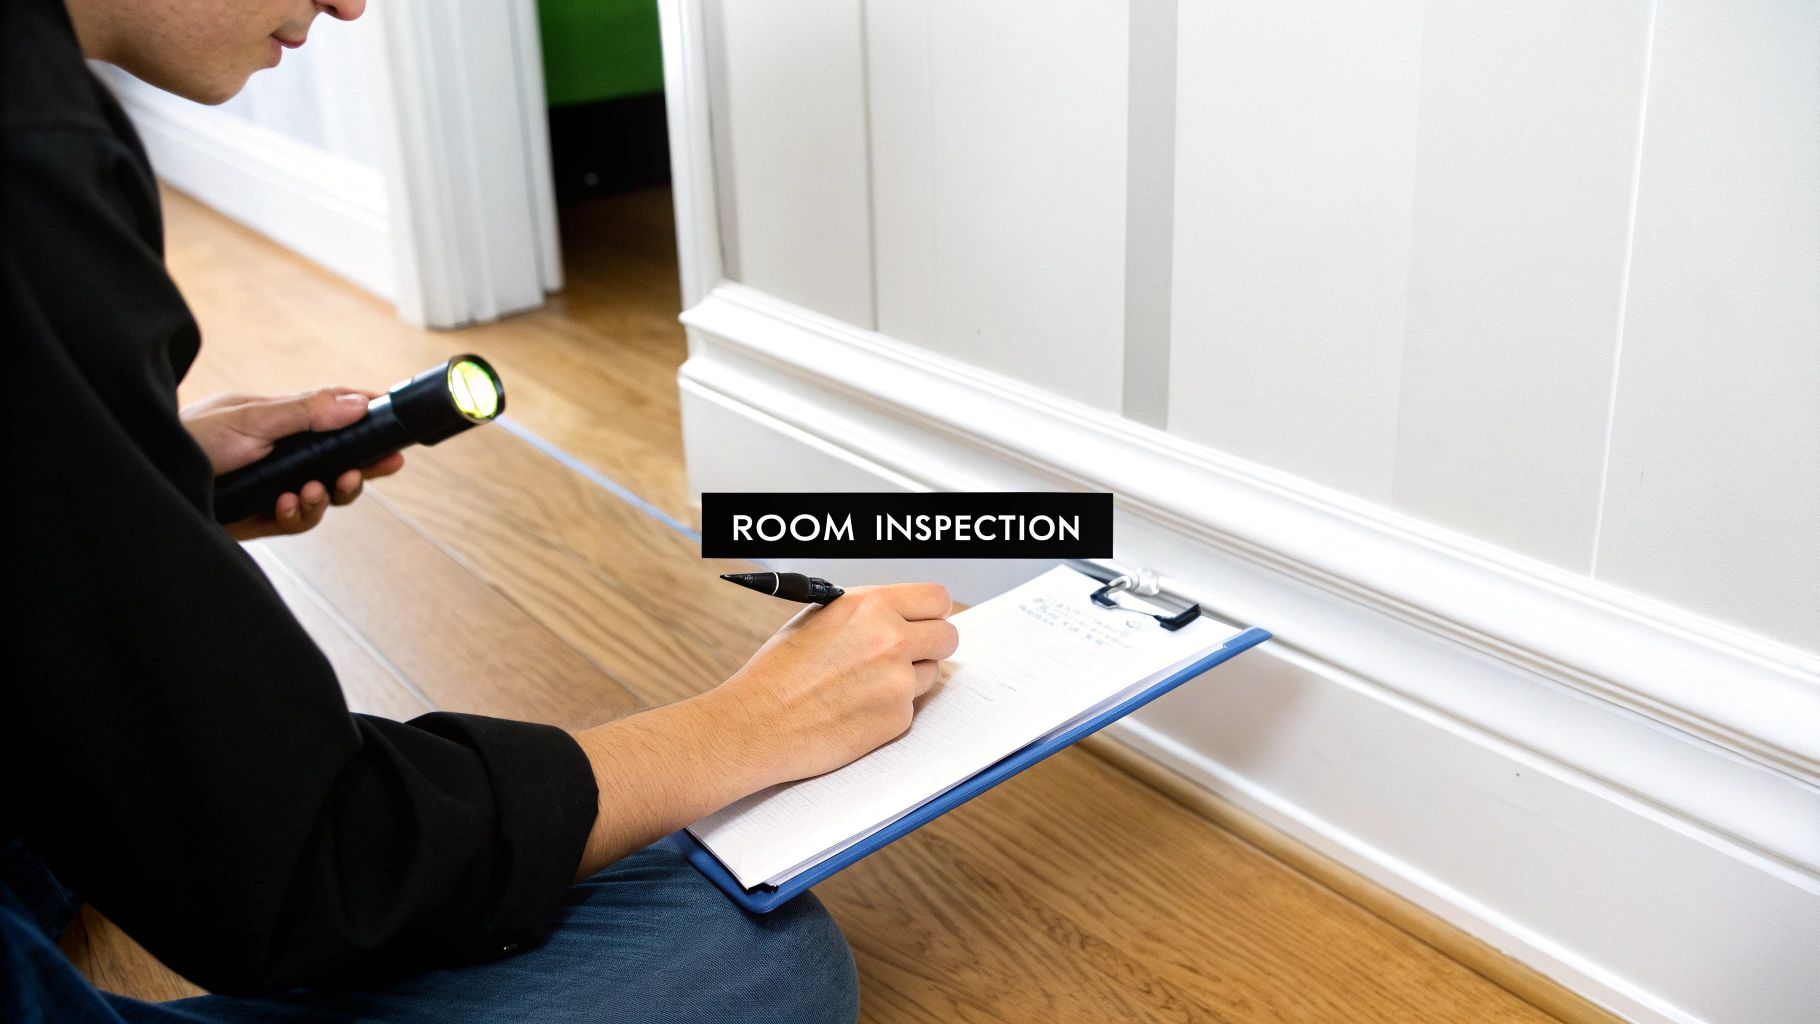
This is where your tenant move in checklist template really shows its value—the actual, physical inspection. A great walkthrough isn't a race to the finish line. It's about being incredibly thorough and turning general observations into specific, undeniable facts. How you handle this sets the tone for the entire tenancy.
The real skill here is in capturing the tiny details. You're basically creating a time capsule of the property's condition at that exact moment. I'm talking about everything from the smallest scuff mark on a baseboard to a faint water stain on the ceiling. Getting this granular is your single best defense against arguments down the road.
Mastering Descriptive Documentation
Vague notes like "good condition" or "shows wear" are almost worthless if a dispute ever comes up. They're totally subjective and leave way too much open to interpretation. The trick is to be specific, measurable, and objective with every single note you take.
So, instead of just writing "kitchen floor is okay," a far better entry would be something like: "One 3-inch light scratch on vinyl flooring near the dishwasher." There's absolutely no ambiguity about the issue's size, what it is, and where to find it.
The difference between "minor scratches" and "three 2-inch scratches on the lower-left cabinet door" can be the difference between winning and losing a security deposit claim. Specificity is your greatest asset.
This kind of precise language takes emotion and opinion out of the picture. It turns the checklist into a factual record that both you and the tenant have signed off on.
The Living Areas and Bedrooms
I always like to start in the main living areas and bedrooms since they get the most foot traffic. Don't just give the room a quick scan; really engage with the space.
- Walls and Ceilings: Hunt for any scuffs, old nail holes, or bad paint patches. Make a note of any discoloration or stains.
- Flooring: Walk the entire perimeter of the room. For carpet, look for any stains, frays, or snags. On hard floors, you're looking for scratches, chips, or any signs of warping.
- Windows and Doors: You need to open and close every single one. Do they latch correctly? Check for cracks in the glass or tears in the screens.
- Fixtures: Flick every light switch. Test every outlet—a simple phone charger is perfect for this. If there’s a ceiling fan, test it on all speeds.
For every item you find, your notes should be direct and to the point. For example: "Master bedroom: North wall has three small nail holes above the outlet." It’s clear, concise, and indisputable.
Kitchens and Bathrooms: The High-Stakes Rooms
From my experience, kitchens and bathrooms are where most move-out disputes happen. This is because of the expensive appliances and the constant potential for water damage. You need to be almost surgical with your inspection in these rooms.
In the kitchen, run every single appliance. Does the dishwasher complete a full cycle without a single drip? Do all the stove burners heat up properly? Don't forget to check inside the fridge and freezer for any cracks in the plastic drawers or shelves.
In the bathrooms, your main focus has to be on water.
- Run all the faucets: Check for good water pressure on both the hot and cold taps.
- Look for leaks: Get down and look under every sink and around the base of the toilet. You're searching for any signs of moisture, mold, or past water damage.
- Flush the toilets: Make sure they flush powerfully and, just as importantly, that they stop running afterward.
- Inspect tile and grout: Note any cracked tiles, missing grout, or any signs of mildew building up.
A deep inspection isn't just about protecting your asset; it also shows the tenant that you're handing over a property that's genuinely clean and ready for them. If you want a great benchmark for what "rent-ready" really means, our rental property cleaning checklist is the standard we aim for.
Don't Forget the Exterior
Last but not least, take the inspection outside. Document the condition of the landscaping, walkways, fences, and any outdoor structures like a patio or a shed. Note things like cracked pavement, peeling paint on the siding, or a few broken fence slats. This step is so important because exterior maintenance duties are often a source of confusion. By documenting it all right from the start, you clarify exactly what's expected from day one.
Using Technology for Better Documentation

Sure, a physical paper checklist is a decent start, but relying on it alone leaves a huge hole in your documentation. When a dispute comes up, a simple checkmark next to "Good Condition" is pretty weak evidence. The real power comes from pairing your written checklist with undeniable photo and video proof.
This simple upgrade transforms your documentation from a subjective list into a powerful, evidence-backed report. It’s what separates a frustrating "he said, she said" argument over a security deposit from a closed case backed by clear, timestamped proof.
The Power of Photo and Video Evidence
Photos and videos are your best friends during the move-in inspection. They capture a level of detail that words just can't, showing the exact size, location, and severity of any issue that was there from day one. This visual history is what makes your tenant move in checklist template truly effective.
When you're taking photos, keep these tips in mind:
- Timestamp Everything: Most smartphones automatically embed the date and time into the photo's data. Double-check that this feature is enabled, as it provides undeniable proof of when the photo was taken.
- Get Wide and Close-Up Shots: Start with a wide shot of the entire room or wall to establish context. Then, move in for a close-up of the specific scratch, scuff, or dent you're documenting.
- Create a Matching System: Number the items on your checklist and use those same numbers in your photo descriptions or filenames. For example, if item #12 is "Living Room Baseboard," your photo can be named "Item12-Scuff.jpg."
Think of your photo gallery as a visual appendix to your checklist. Each point on the list should have a corresponding, high-quality image that leaves no room for doubt about the property's condition at move-in.
Choosing the Right Tools
You don't need a professional setup to create a solid visual record. The camera on your smartphone is more than capable of capturing the high-resolution images you need. If you're looking to step up your property marketing in general, you can check out our recommendations for the best cameras for real estate to see how much of a difference quality visuals can make.
By bringing these simple tech practices into your process, you’re not just filling out a form—you’re building an airtight legal and financial shield for your investment property.
Best Practices for a Smooth Move-In Day
Having a solid tenant move in checklist template is a great start, but it’s only as good as the process you build around it. The actual move-in day walkthrough is your chance to turn a simple administrative task into a moment that builds real trust. It truly sets the stage for a positive tenancy right from day one.
The trick is to treat the inspection like a team effort, not a confrontation. Instead of just telling your new tenant when to show up, reach out with a few flexible time slots for the walkthrough. It’s a small thing, but it shows respect for their crazy moving schedule and kicks off the relationship on a cooperative note.
Scheduling and Execution
Once you're both at the property, walk through it together at a comfortable pace. You want to encourage the tenant to really interact with the space—open the cabinets, turn on the faucets, and point out anything they see. This isn't about placing blame; it's about creating a shared, accurate snapshot of the property's condition at that exact moment in time.
After you’ve done the joint walkthrough, it's really important to give the tenant some time to review the document on their own.
- Provide a Deadline: A window of 24 to 72 hours is pretty standard. This gives them a chance to settle in a bit and notice things that aren't obvious during a quick tour, like a drawer that sticks or a sink that drains slowly.
- Set Clear Expectations: Let them know they should add their own notes to the form, sign it, and get it back to you by the date you both agreed on.
This approach empowers your tenant, making them an active partner in the process.
The real goal of a move-in inspection isn't to pass a test. It's to establish a transparent, mutually agreed-upon baseline. When tenants feel like their observations matter, they're far more likely to respect the property for the entire lease.
Handling Disagreements and Repairs
Every now and then, a tenant will spot a minor issue you missed, maybe a loose doorknob or a chipped tile. Don't get defensive. See these moments for what they are: opportunities to show you're a professional. If a request is reasonable, get it fixed quickly. Taking a proactive approach to maintenance like this shows you're a responsible landlord and builds a massive amount of goodwill.
Industry best practices back this up. Landlords who actively involve tenants in scheduling and completing walkthroughs see far fewer conflicts down the road. In fact, property management surveys have shown this collaborative style can cut lease-end disputes by up to 25%. It allows for quick fixes and establishes that clear baseline from the very beginning, protecting both your investment and the landlord-tenant relationship.
To make the transition even smoother, sometimes practical logistics like temporary storage are needed. For help on that front, learning about choosing a storage facility when moving house can be an incredibly useful resource for both tenants and landlords.
Answering Your Top Move In Checklist Questions
Even with a rock-solid tenant move in checklist template, you're bound to run into some gray areas. It happens. Knowing how to handle these tricky situations with confidence is what really separates the pros from the amateurs.
Let's walk through some of the most common sticking points I see, so you're ready to handle them like a seasoned pro, protecting both your investment and your relationship with your new tenant.
What if the Tenant Won’t Sign the Checklist?
This is probably the most frequent question I get. It's rare, but it can happen. What do you do if your tenant just flat-out refuses to sign?
Don't panic. Your best move is to become the most detailed documentarian you can be. If they won’t sign, you'll do it for them—with overwhelming proof.
Take incredibly thorough, timestamped photos and videos of every single room. I mean everything. Get close-ups of switches, outlets, and existing scuffs. Open every cabinet and appliance.
Then, send the tenant an email with a copy of your completed (but unsigned) checklist and a link to the gallery of photos and videos. This creates a digital paper trail. It proves you did your due diligence and made every effort to complete the process together. That copy becomes your official record of the property's condition at move-in.
Defining Normal Wear and Tear vs. Damage
This is the big one. The line between "normal wear and tear" and actual damage can feel blurry, but getting it right is crucial for handling the security deposit fairly and legally.
You can't deduct for the expected, minor decline of a property over time. But you absolutely can—and should—deduct for damage caused by negligence or abuse.
- Normal Wear and Tear: Think of things like paint gently fading from years of sunlight, minor scuffs on the walls where a couch was, or the carpet looking a little tired in the main hallway. That's just the result of someone living in a space.
- Damage: This is different. We're talking about big holes in the drywall, deep gouges in the hardwood floors, a cracked window, or a massive, unremovable stain in the middle of the living room carpet.
The question I always ask is: Did this happen from normal, everyday living, or was it a specific, avoidable incident? Faded paint is life. A crayon masterpiece on the dining room wall is damage. Understanding this difference is everything.
Should I Update My Checklist?
I often hear from landlords who wonder if they can just create one master checklist and use it forever. While having a great template is a fantastic start, you absolutely need to fine-tune it for each specific property.
A house with a fireplace, a private balcony, or a finished basement needs its own checklist items. A standard apartment template is going to miss those details, leaving you exposed.
It’s also smart to review your master template at least once a year. Things change. You might install new appliances, or after a few turnovers, you might realize you forgot to include the condition of the mailbox or the exterior light fixtures. A checklist that constantly improves is the mark of a truly professional and proactive landlord.
At Edinhart Realty and Property Management, we sweat these details so you don't have to. Our exhaustive process makes sure every single tenancy kicks off with airtight documentation and a clear understanding. Find out how we can protect your investment and take the stress out of your day-to-day.


