

A successful tenant move-out is the final, crucial step in protecting your rental property investment. Going beyond a quick glance for a "broom clean" state, a systematic and detailed inspection prevents disputes, justifies security deposit deductions, and sets the stage for a swift turnover. This definitive landlord move out inspection checklist provides a room-by-room and system-by-system framework to ensure nothing is missed.
We'll break down the 10 most critical areas to inspect, from walls and flooring to HVAC systems and exterior landscaping. This guide offers actionable tips to help you document property condition accurately and fairly, distinguishing between normal wear and tear and tenant-caused damage. Using a standardized process not only safeguards your asset but also reinforces your professionalism, a cornerstone of successful property management.
To ensure tenants are prepared for this process, you can provide them with their own comprehensive guide. A detailed end of tenancy checklist can help them understand their obligations, leading to a smoother and less contentious inspection for both parties. This proactive communication helps set clear expectations and often results in the property being returned in better condition, saving you time and money on turnover.
1. Walls and Paint Condition
Evaluating the condition of walls and paint is a cornerstone of any thorough landlord move out inspection checklist. This step involves meticulously examining every wall surface for damage that goes beyond "normal wear and tear," which is a common area for security deposit deductions. Your goal is to identify issues that require tenant responsibility for repairs, such as significant holes, deep scratches, unauthorized paint jobs, or extensive staining.
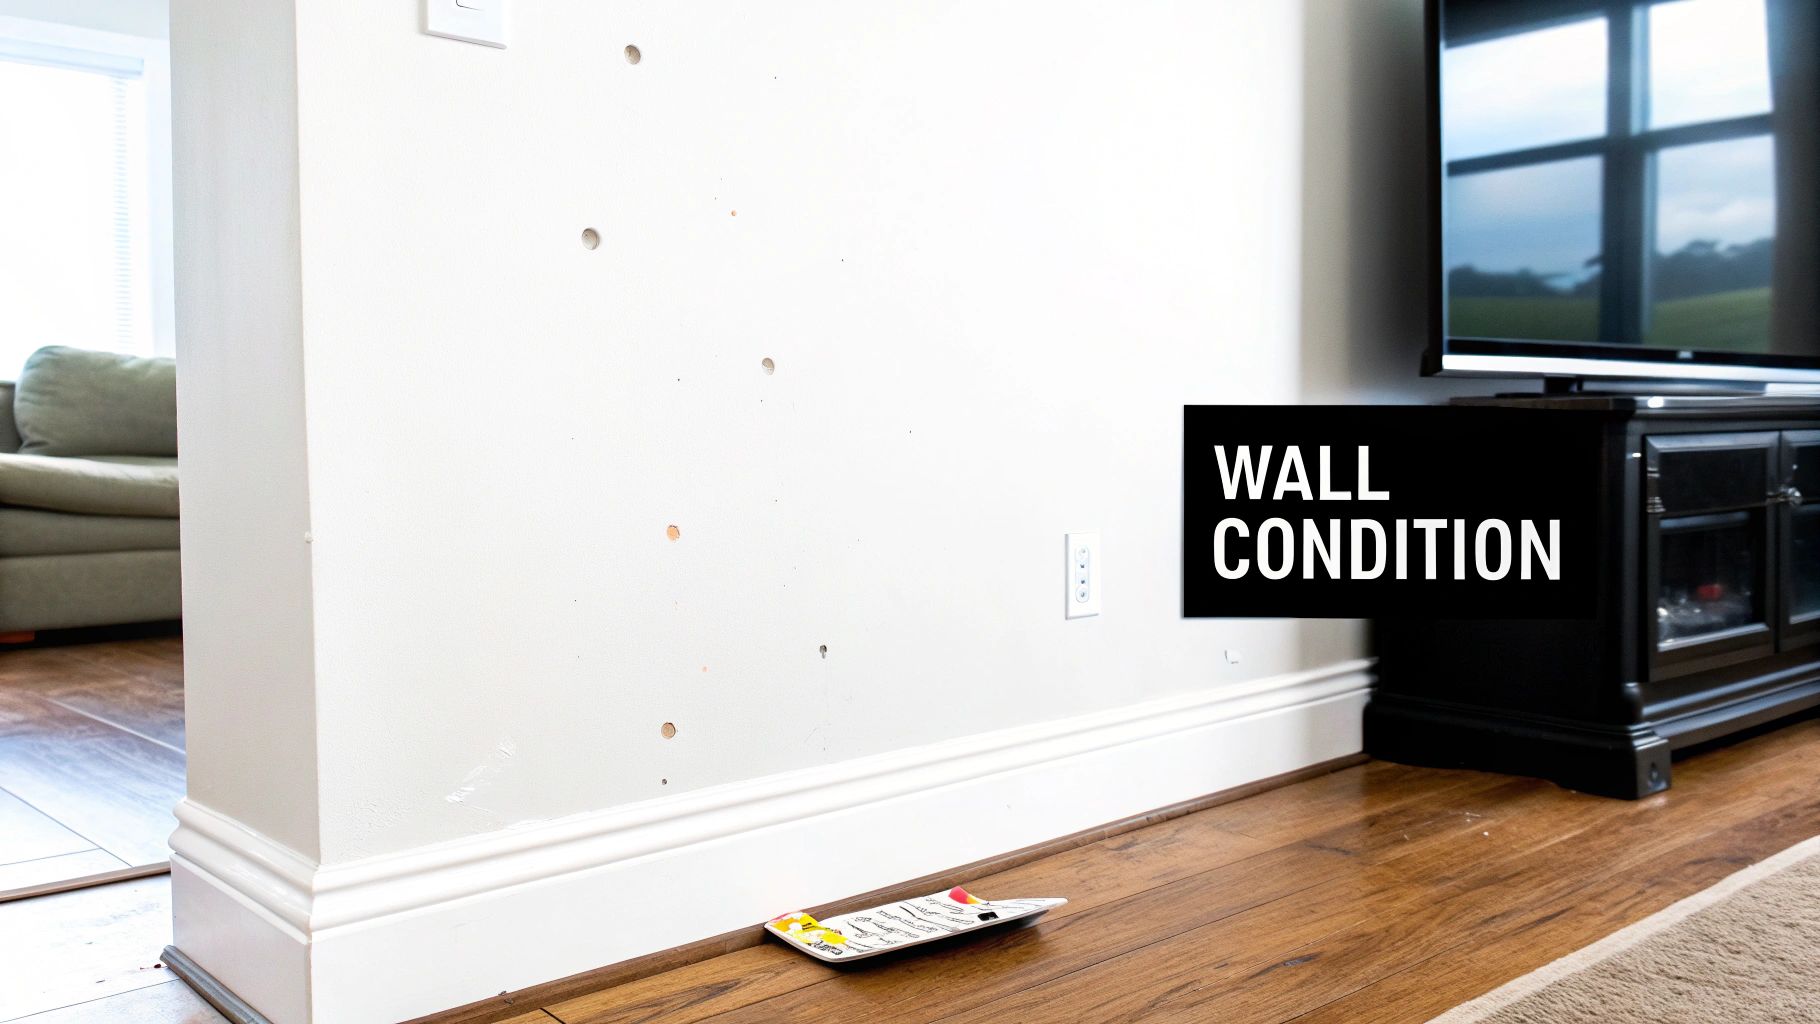
The definitive reference point for this assessment is your original move-in inspection report. This document, ideally filled with photos, provides a baseline for the property's condition before the tenant moved in. You can learn more about establishing this baseline with a comprehensive tenant move-in checklist template.
Actionable Inspection Tips
To ensure a fair and accurate assessment, follow these specific steps:
- Document Everything: Use a high-resolution camera to take photos of any damage. Capture images from multiple angles and use a ruler or tape measure in the photo to show the scale of holes or scuffs.
- Check Lighting: Inspect walls under both natural and artificial light. Different lighting conditions can reveal scuffs, stains, or poor patch jobs that might otherwise be missed.
- Distinguish Wear vs. Damage: Differentiate between minor scuffs in high-traffic areas (wear and tear) and large crayon drawings or deep gouges from moving furniture (damage).
- Note Unauthorized Alterations: Look for evidence of tenants painting without permission, often visible through sloppy edging or paint on trim. Compare the current color to your records or a saved paint chip.
2. Flooring and Carpet Condition
A thorough assessment of all flooring is a critical component of any landlord move out inspection checklist. This step involves a detailed examination of carpets, hardwood, tile, laminate, and vinyl for damage that exceeds normal depreciation. Your objective is to identify tenant-caused issues like significant stains, burns, deep scratches, or cracked tiles, which are often significant and costly repairs and common reasons for security deposit deductions.
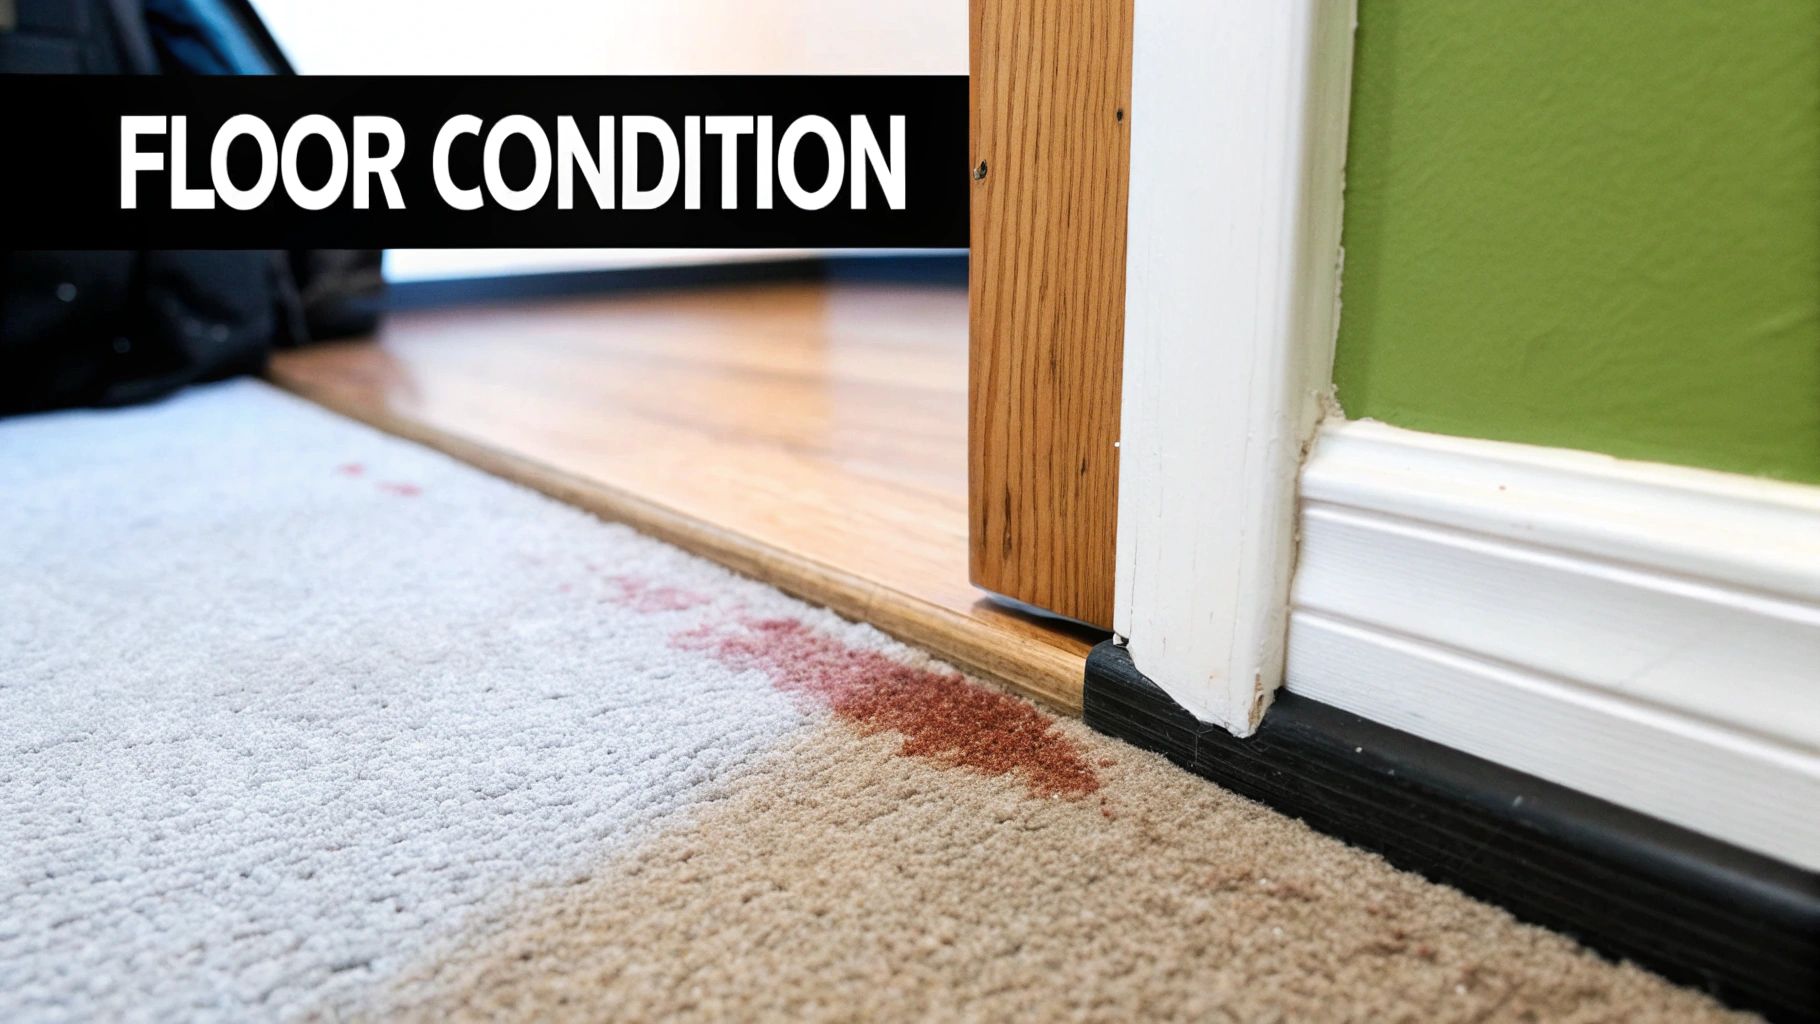
The definitive reference for your evaluation is the move-in condition report. This document, complete with dated photos, establishes the baseline condition of all flooring surfaces before the tenant took possession. Comparing the move-out state to this initial record is the only way to fairly and accurately determine responsibility for any degradation in condition.
Actionable Inspection Tips
To conduct a fair and precise flooring assessment, follow these specific guidelines:
- Document with Photos: Take clear, well-lit photos of any damage found. For issues like carpet stains or hardwood gouges, include a common object like a coin or ruler for scale.
- Assess Carpets Room-by-Room: Check each carpeted area for large stains from spills or pets, cigarette burns, and unusual wear patterns not present at move-in. Note any persistent odors, which may indicate deeper issues.
- Inspect Hard Surfaces: Carefully examine hardwood, tile, and laminate for deep scratches, gouges from furniture, chipped or cracked tiles, and water damage, especially around kitchens and bathrooms.
- Use the Move-In Report: Methodically compare your current findings against the move-in photos and notes for every room. This direct comparison is your best evidence for differentiating between pre-existing issues, normal wear, and new damage.
3. Kitchen Appliances and Cleanliness
The kitchen is a high-traffic area, and the condition of its appliances is a critical part of the landlord move out inspection checklist. This inspection verifies that all provided appliances are clean, functional, and free from damage beyond normal wear and tear. A tenant leaving behind a greasy oven, a moldy refrigerator, or a broken dishwasher can lead to significant turnover costs and delays, making this step essential for protecting your investment.
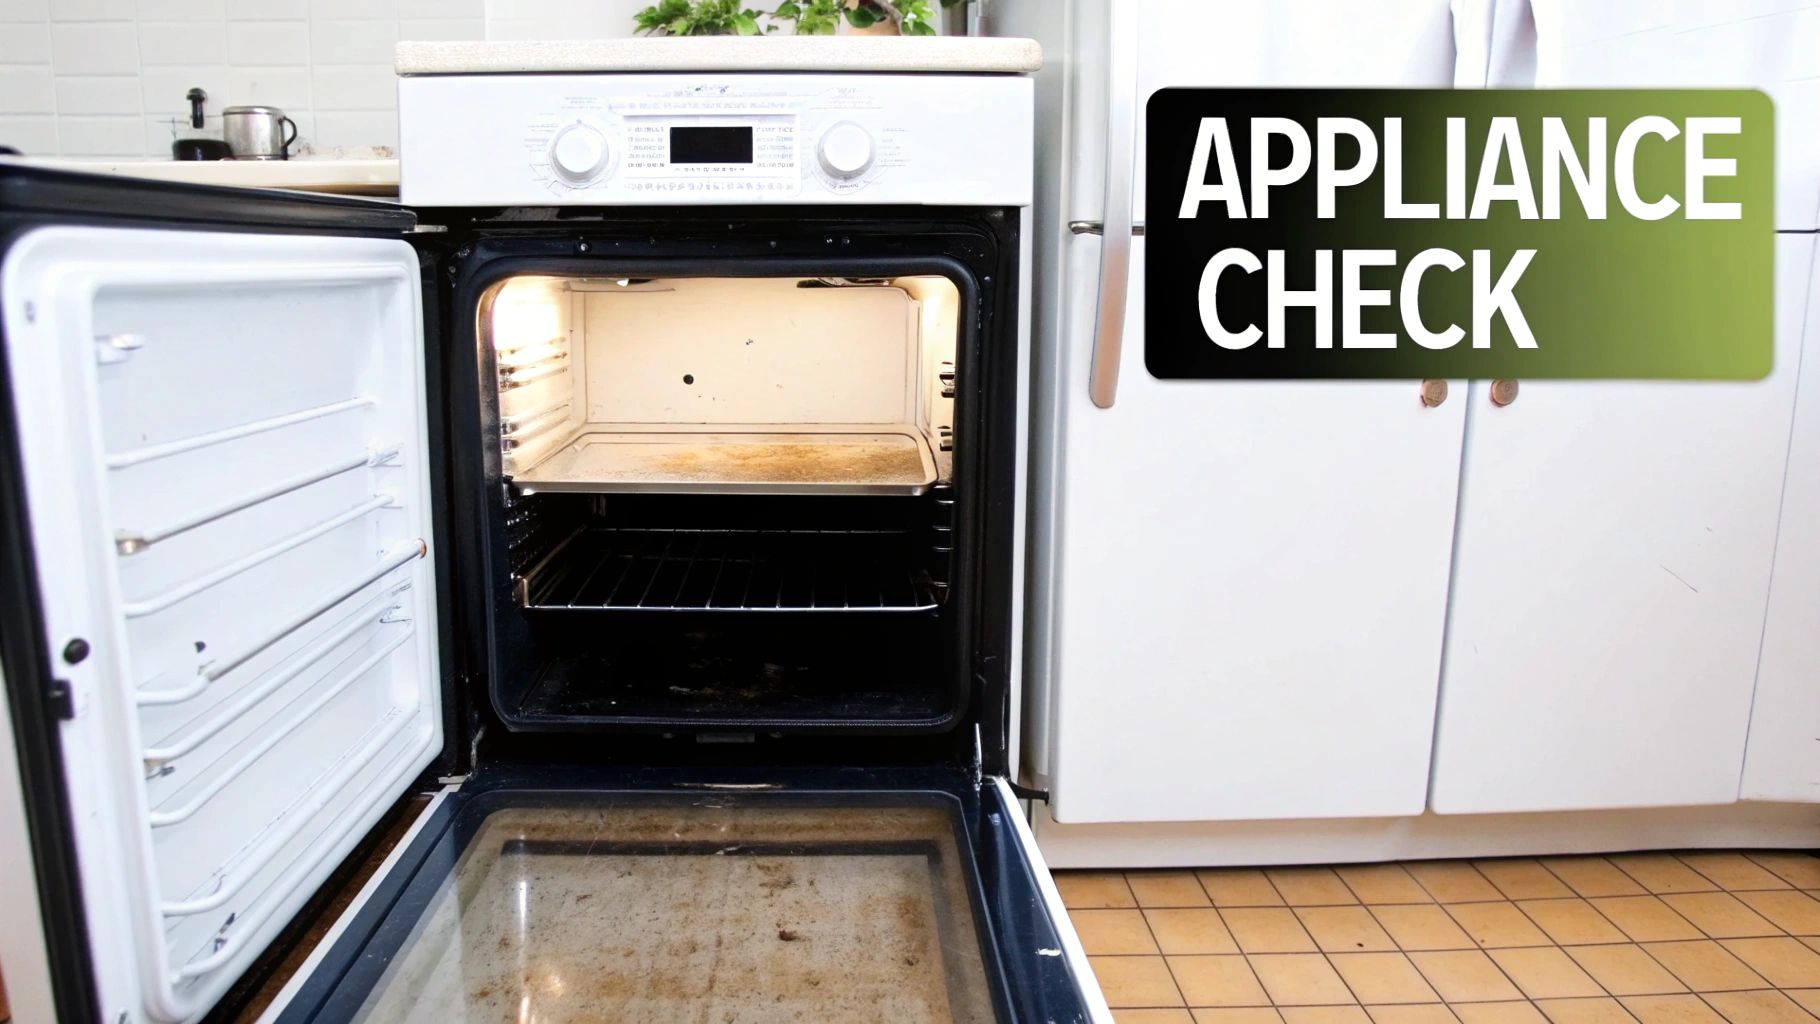
Your move-in report is the crucial baseline for this evaluation. It establishes the original state of each appliance, allowing you to clearly identify any new damage or cleanliness issues. For a deeper dive into cleaning standards, you can find helpful guidance in this rental property cleaning checklist. This ensures your expectations are consistent and well-documented from the start of the tenancy.
Actionable Inspection Tips
To conduct a thorough and fair assessment of kitchen appliances, follow these detailed steps:
- Test Every Function: Turn on the stove burners, run a short cycle on the dishwasher, check the refrigerator and freezer for proper cooling, and test the microwave. Document any operational failures.
- Document with Detail: Take close-up photos of any issues like grease buildup inside the oven, food residue in the microwave, or broken racks in the dishwasher.
- Inspect Inside and Out: Open all appliance doors. Check for strong odors, stains, and cleanliness inside the refrigerator. Examine the oven interior, stovetop, and under the burners for caked-on food.
- Note Serial Numbers: Photograph the model and serial number plates on each appliance. This information is invaluable for repair requests, warranty claims, or insurance purposes.
4. Bathroom Fixtures and Plumbing
Assessing bathroom fixtures and plumbing is a crucial component of any landlord move out inspection checklist. Bathrooms are high-moisture environments susceptible to water damage, mold, and mildew, which can lead to expensive repairs if not caught early. This part of the inspection involves a functional and visual check of the toilet, sink, faucets, shower, tub, tiles, and grout for cleanliness, damage, and proper operation.
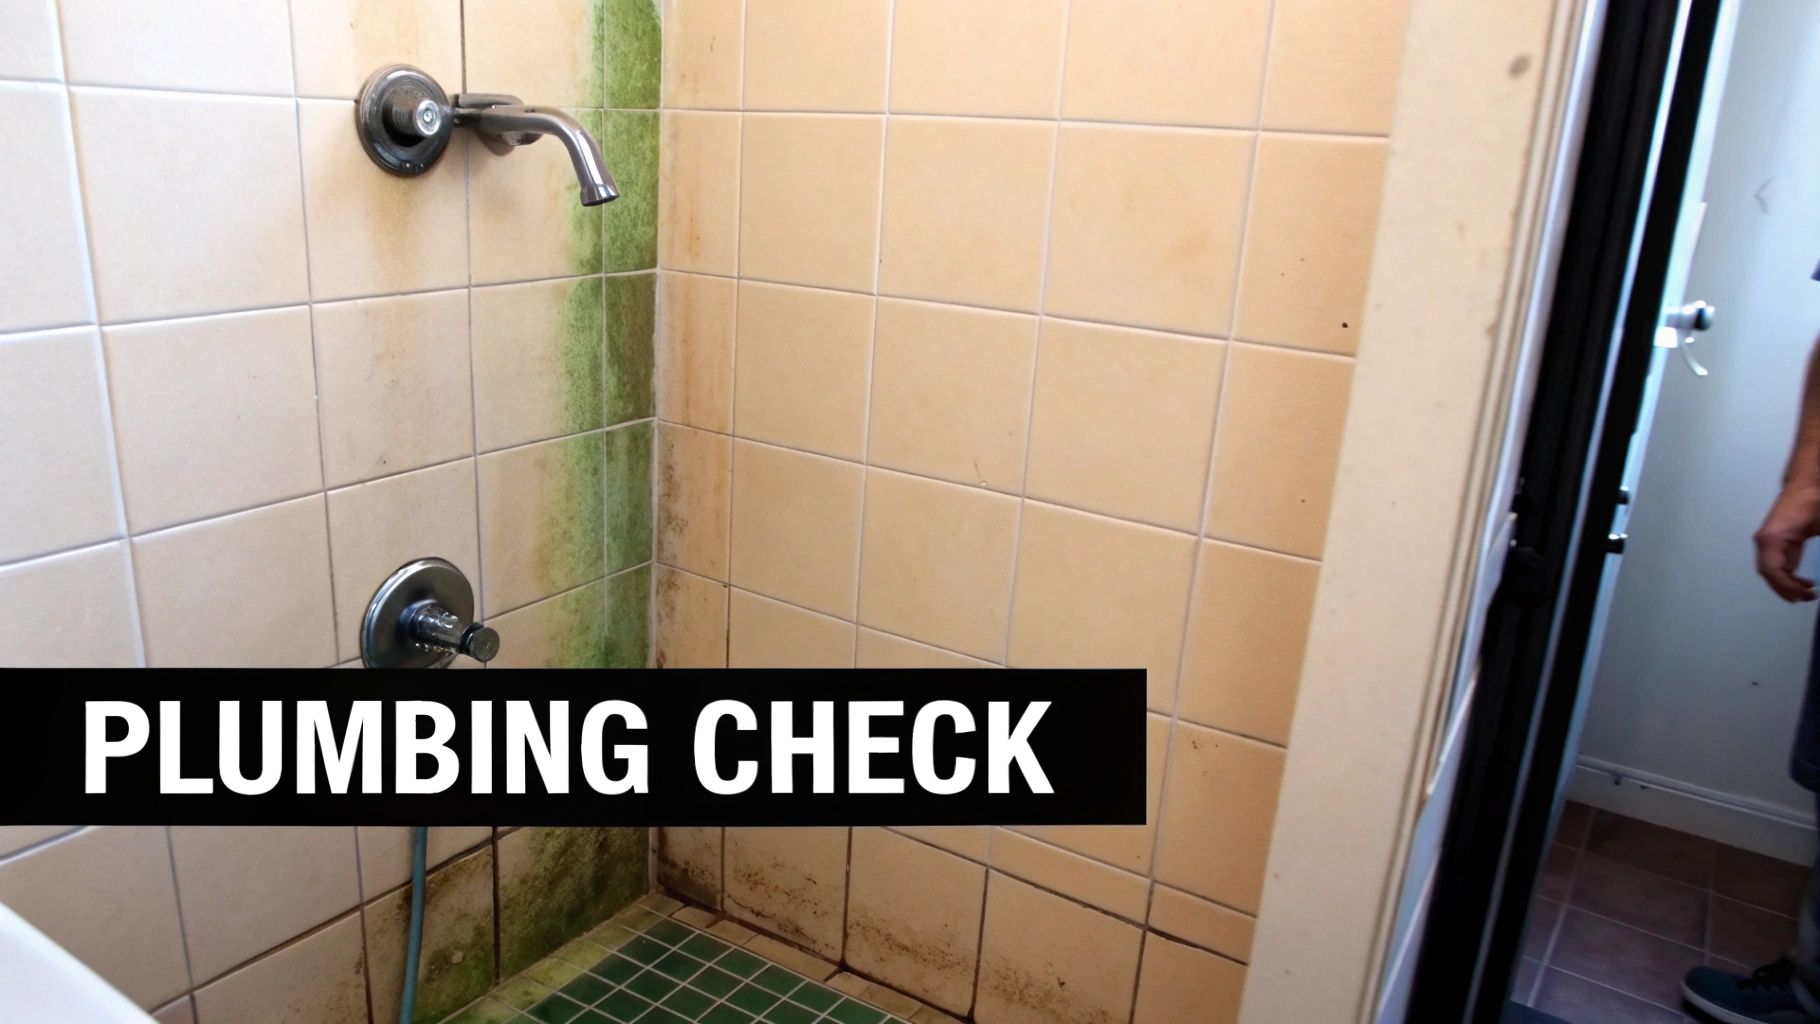
Your focus should be on identifying issues beyond simple cleaning, such as cracked toilet basins, unreported leaks, or significant mold growth caused by neglect. Comparing the current state to the move-in condition report is essential to fairly determine tenant liability. Problems like deteriorating caulk in the shower or a running toilet are common and must be documented to prevent further damage.
Actionable Inspection Tips
To conduct a thorough and fair assessment of the bathroom, follow these specific steps:
- Test All Functions: Run water in the sink and shower to check for proper drainage and water pressure. Flush the toilet to ensure it functions correctly and doesn't continue to run.
- Inspect for Leaks: Carefully check under the sink and around the base of the toilet for any signs of water damage, such as soft spots in the flooring, discoloration, or active drips.
- Document Mold and Grout: Photograph any mold, mildew, or broken tiles. Note areas with missing grout or deteriorating caulk, as these can be entry points for water.
- Check Ventilation: Test the bathroom's exhaust fan to confirm it is operational. Inadequate ventilation is a primary cause of excessive moisture buildup and mold growth.
5. Doors, Locks, and Hardware
A thorough assessment of doors, locks, and associated hardware is a critical safety and security component of any landlord move out inspection checklist. This step ensures that all entry points are secure and that interior doors function correctly. Your inspection should cover everything from main entry doors and deadbolts to interior room doors, closet doors, and sliding patio doors, identifying any damage beyond normal wear.
The primary goal is to verify that the property can be securely handed over to the next tenant. Issues like a damaged deadbolt, a broken door frame from a forced entry, or a misaligned door that won't close properly are significant security risks that fall under tenant responsibility if they occurred during their tenancy. Comparing the current state to your move-in condition report is essential for accurately assigning accountability for repairs.
Actionable Inspection Tips
To conduct a comprehensive and fair evaluation, implement these specific actions:
- Test Every Lock: Systematically go through the property and test every single lock with its corresponding key. Document whether the lock engages and disengages smoothly or if it sticks.
- Inspect Door Frames and Hinges: Carefully examine door frames for cracks, splits, or signs of forced entry. Check all hinges to ensure doors hang correctly and do not drag on the floor.
- Document Hardware Condition: Take close-up photos of any damaged or missing hardware, such as doorknobs, handles, or locksets. Note any deep scratches, dents, or broken components.
- Check Sliding and Screen Doors: Test sliding glass doors to ensure they move smoothly on their tracks and that their locks function correctly. Inspect screen doors for tears, broken frames, or malfunctioning latches.
6. Windows, Screens, and Glass
A thorough evaluation of windows, screens, and glass is a critical component of any landlord move out inspection checklist. These features are essential for the property's security, energy efficiency, and overall appearance. Your inspection should focus on identifying damage beyond normal wear, such as cracked panes, broken locks, torn screens, or compromised window seals, which are typically the tenant's financial responsibility.
As with other aspects of the inspection, your move-in condition report is the ultimate reference. Comparing the current state of the windows to the documented condition at the start of the tenancy provides a clear basis for any necessary deductions. Damage to window screens is a common finding, and understanding what constitutes simple wear versus tenant-caused damage is key. Fortunately, some issues may be simple to address, and there are resources available that outline easy DIY fixes for window screens.
Actionable Inspection Tips
Follow these specific steps to conduct a fair and detailed window assessment:
- Test Functionality: Open, close, and lock every window. They should operate smoothly without sticking. Ensure all locks and latches engage securely.
- Inspect All Glass: Carefully examine each window pane for cracks, chips, or shatters. For double-pane windows, look for fogging or condensation between the panes, which indicates a failed seal.
- Document Screen Condition: Check every screen for holes, tears, or bent frames. Document any missing screens and compare against the move-in report.
- Check Seals and Frames: Inspect the caulking and weatherstripping around each window for deterioration or gaps. Look for signs of water damage, rot, or corrosion on the frames and sills.
7. HVAC System and Climate Control
A functional HVAC system is a critical component of a habitable rental property, making its inspection a non-negotiable part of the landlord move out inspection checklist. This step involves a thorough evaluation of the heating, ventilation, and air conditioning systems to ensure they are in good working order. Your focus is on identifying any damage, neglect, or malfunction that occurred during the tenancy, such as a broken thermostat or a system clogged from failure to change filters.
Your move-in inspection report, which should have documented the system's operational status and filter condition, serves as the baseline for this assessment. Consistent upkeep is key, and a clear maintenance schedule can prevent many issues. You can find detailed guidance on managing these systems by reviewing a rental property maintenance checklist.
Actionable Inspection Tips
To conduct a precise and fair HVAC evaluation, follow these practical steps:
- Test Full Functionality: Turn on the heat and the air conditioning separately, allowing each to run long enough to confirm they are producing appropriately tempered air. Check that air is flowing from all vents.
- Inspect Air Filters: Check the condition of the HVAC air filter. A severely clogged filter can indicate tenant neglect and may be grounds for a deduction to cover cleaning or potential system strain.
- Document Thermostat Operation: Test the thermostat by adjusting the temperature settings and ensuring the system responds correctly. Photograph the unit to show it is free from physical damage.
- Listen for Irregular Noises: When the system is running, listen for any unusual sounds like grinding, rattling, or squealing, which could signal underlying mechanical problems that need professional diagnosis.
8. Lighting Fixtures and Electrical Outlets
Ensuring all lighting fixtures and electrical outlets are safe and functional is a non-negotiable part of a landlord move out inspection checklist. This step involves a detailed examination of every light switch, outlet, and fixture for operational integrity and physical damage. Beyond simple functionality, this check is crucial for tenant safety and meeting habitability standards, as faulty electrical components can pose a serious fire hazard.
Your assessment should identify issues that are the tenant's responsibility, such as missing light bulbs, cracked outlet covers from misuse, or damage to a ceiling fan pull chain. The move-in inspection report serves as the crucial baseline, detailing the original state of these components. Any new damage, beyond a standard bulb burning out, should be carefully documented against this initial record.
Actionable Inspection Tips
To conduct a thorough and fair evaluation of the property's electrical systems, use these specific steps:
- Test Every Point: Systematically go through the property and flip every light switch to confirm it operates the intended fixture. Use a simple outlet tester to verify that each electrical outlet is powered and grounded correctly.
- Inspect for Physical Damage: Look closely at all outlets and switch plates for cracks, chips, or missing screws. Note any burn marks or discoloration, which could indicate dangerous arcing and require professional attention.
- Check Fixtures: Examine ceiling fans and light fixtures for stability. Ensure they are securely attached to the ceiling and that no parts are loose or broken. Note any missing bulbs or broken glass covers.
- Document with Detail: Photograph any and all issues found, such as a non-functional outlet or a cracked switch plate. Clear visual evidence is essential if you need to make deductions from the security deposit for repairs.
9. Ceilings, Insulation, and Attic Access
Inspecting the ceilings, insulation, and attic access is a critical part of a landlord move out inspection checklist because issues here often point to larger, more costly problems like roof leaks or plumbing failures. Your focus is to identify any changes from the move-in condition, specifically looking for signs of water damage, structural stress, or tenant-caused harm that could impact the property's integrity and safety.
This part of the inspection requires a keen eye for subtle clues. A small, discolored spot on the ceiling could be an early warning of a significant roof or upstairs plumbing leak. Comparing the current state to your move-in photos is essential to determine if issues like sagging drywall or new cracks developed during the tenancy.
Actionable Inspection Tips
To conduct a thorough and fair evaluation of ceilings and related areas, use these specific methods:
- Document Water Stains: Photograph any water stains, paying close attention to their color and shape. Brown, ring-like stains often suggest a slow leak from a roof, while more widespread discoloration in a bathroom could indicate a plumbing issue.
- Look for Structural Changes: Carefully scan for any sagging, bowing, or significant new cracks in the ceiling. These can be signs of structural strain or prolonged water saturation that has weakened the drywall.
- Check for Active Moisture: If you see a stain, gently touch the area to feel for dampness or active dripping. This helps differentiate between an old, resolved issue and an ongoing problem requiring immediate attention.
- Inspect Attic Access: Where applicable, check the attic hatch or access panel. Ensure it closes securely and that insulation around it is intact, which is important for energy efficiency. Note any damage to the access point itself.
10. Yard, Landscaping, and Exterior Condition
The property's exterior is the first thing you see and significantly impacts curb appeal, so a thorough evaluation is a critical part of any landlord move out inspection checklist. This step involves assessing the condition of the lawn, garden beds, fences, decks, and any other outdoor features. Your objective is to identify neglect or damage that exceeds normal seasonal changes, holding the tenant accountable for maintaining the property's exterior as agreed upon in the lease.
The definitive reference for this assessment is the move-in inspection report, which should contain dated photos of the yard and exterior structures. This documentation establishes the baseline condition, allowing for a fair comparison. Issues like an overgrown lawn, accumulated trash, broken fence panels, or significant new oil stains on the driveway may warrant deductions from the security deposit.
Actionable Inspection Tips
To conduct a fair and comprehensive exterior inspection, follow these specific steps:
- Document Extensively: Take wide-angle photos of the entire yard from multiple perspectives, as well as close-ups of any specific issues like overgrown weeds, debris piles, or damaged structures.
- Check Structural Integrity: Inspect fences for leaning sections, rot, or broken gates. Walk on the deck or porch, testing for loose boards and unstable handrails.
- Assess Landscaping and Debris: Note any un-mowed grass, rampant weeds, or dead plants in areas the tenant was responsible for maintaining. Document all personal items, trash, or debris left behind.
- Examine Hardscapes and Gutters: Look for new, significant cracks or stains on driveways and walkways. Check gutters for visible clogs or damage if they are safely accessible.
10-Point Move-Out Inspection Comparison
| Item | Implementation Complexity 🔄 | Resource Requirements ⚡ | Expected Outcomes 📊 | Ideal Use Cases 💡 | Key Advantages ⭐ |
|---|---|---|---|---|---|
| Walls and Paint Condition | Moderate 🔄 — visual, subjective assessment | Low–Moderate ⚡ — camera, minor repairs, paint sample | Documented repaint/repair needs; deposit evidence 📊 | Move-out inspections; deposit disputes 💡 | Clear visual evidence; inexpensive minor fixes ⭐ |
| Flooring and Carpet Condition | Moderate–High 🔄 — stains, wear, depreciation | Moderate ⚡ — cleaning, professional quotes, testing | Cleaning vs. replacement decisions; cost estimates 📊 | High-traffic rooms; carpet replacement disputes 💡 | Wear patterns give objective basis; measurable costs ⭐ |
| Kitchen Appliances and Cleanliness | Moderate 🔄 — function + cleanliness checks | Low–Moderate ⚡ — appliance tests, cleaning/repair services | Functional status; cleaning or repair required 📊 | Leased appliances; move-out readiness checks 💡 | Clear functional distinction; predictable repair costs ⭐ |
| Bathroom Fixtures and Plumbing | High 🔄 — leaks, mold, hidden damage | Moderate–High ⚡ — plumber, moisture meter, remediation | Habitability issues; potential major repairs 📊 | Leak/mold investigations; urgent habitability fixes 💡 | Early detection prevents costly progression; objective leak evidence ⭐ |
| Doors, Locks, and Hardware | Low 🔄 — straightforward function checks | Low ⚡ — basic hardware, locksmith as needed | Security/operability status; minor replacements 📊 | Security checks; key/lock turnover at move-out 💡 | Easy to document; generally inexpensive fixes ⭐ |
| Windows, Screens, and Glass | Moderate 🔄 — seals, frames, operability | Moderate ⚡ — glass repair, screen replacement, sealing | Security, energy loss, glass/frame replacement needs 📊 | Storm damage, energy-efficiency audits 💡 | Broken glass objective; standard replacement pricing ⭐ |
| HVAC System and Climate Control | High 🔄 — system-wide diagnostics, seasonal | High ⚡ — professional inspection, parts, filters | Habitability compliance; potential costly repairs 📊 | Pre-season service; habitability/comfort checks 💡 | Prevents emergency failures; professional service records ⭐ |
| Lighting Fixtures and Electrical Outlets | Moderate 🔄 — surface checks, hidden issues possible | Low–Moderate ⚡ — tester, electrician for repairs | Safety compliance; targeted electrical fixes 📊 | Safety inspections; move-out functionality checks 💡 | Easy functionality tests; clear safety indicators ⭐ |
| Ceilings, Insulation, and Attic Access | High 🔄 — structural, moisture, potential hazards | High ⚡ — roofing/attic pros, testing, remediation | Structural repair needs; mold/asbestos remediation 📊 | Leak/roof investigations; insurance claims 💡 | Early detection limits structural damage; supports claims ⭐ |
| Yard, Landscaping, and Exterior Condition | Moderate 🔄 — seasonal and scope-dependent | Moderate ⚡ — landscaping, cleanup, structural repairs | Curb appeal, cleanup/repair cost estimates 📊 | Lease-defined yard maintenance; move-out exterior checks 💡 | Visual, often cost-effective improvements; impacts rental appeal ⭐ |
Finalizing the Inspection and Securing Your Investment
Navigating the end of a tenancy agreement can be one of the most demanding aspects of property management. However, by systematically applying the detailed room-by-room and item-by-item walkthrough outlined in this guide, you transform a potentially contentious process into a structured, fact-based evaluation. The true power of a comprehensive landlord move out inspection checklist lies not just in its thoroughness, but in its ability to create a clear, indisputable record of the property's condition, protecting your investment from costly disputes and unforeseen expenses.
Remember, the goal is not to penalize tenants but to fairly assess the state of your property against the baseline established at the beginning of the lease. This process is your final, critical opportunity to hold tenants accountable for damages that go beyond normal wear and tear, ensuring that the costs of negligence are not unfairly passed on to you.
Key Takeaways for a Seamless Transition
To ensure your move-out process is both effective and legally sound, always prioritize these core principles:
- Documentation is Your Defense: Your most powerful tool is the side-by-side comparison of the move-in and move-out condition reports. High-resolution photos and videos, timestamped and organized, are non-negotiable. They provide irrefutable evidence that supports any deductions from the security deposit.
- Consistency is Crucial: Apply the same detailed inspection criteria to every property, every time. This consistency not only makes the process more efficient but also demonstrates fairness and protects you from accusations of discrimination.
- Know Your Local Laws: Landlord-tenant laws, particularly those governing security deposit deductions and timelines for communication, vary significantly by state and even city. Ignorance of these regulations can lead to severe financial penalties, so always stay informed about your legal obligations.
- Communicate with Clarity: Once your inspection is complete, provide the former tenant with a clear, itemized list of any proposed deductions. Include copies of professional quotes or receipts for repairs to justify the costs. Transparent and prompt communication can prevent misunderstandings from escalating into legal battles.
Your Next Steps to Protect Your Property
With your completed checklist in hand, your immediate next steps are to calculate the final security deposit disposition. Compile all your notes, photos, and cost estimates into a final report. From there, you can confidently return the appropriate portion of the deposit within the legally mandated timeframe, prepare the unit for the next tenant, and close out the file on a tenancy that ended professionally and fairly. Mastering this final step is what separates amateur landlords from savvy investors who successfully protect their assets and maintain a positive cash flow.
Executing a flawless move-out inspection requires time, expertise, and an unwavering attention to detail. For property owners in Central California who want to ensure every inspection is handled with professional precision, Edinhart Realty and Property Management offers a comprehensive solution. We turn the complex task of tenant turnover into a streamlined, stress-free process, protecting your investment and maximizing your returns. Contact Edinhart Realty and Property Management today to learn how our expert team can safeguard your property.


