

Think of preparing your home for a photoshoot as setting the stage for a blockbuster movie. Your property is the star, and the photos are the trailer that will draw in the crowds. The goal is to make a powerful first impression, and that means focusing on three critical areas: decluttering, depersonalizing, and boosting curb appeal.
This isn't just a quick tidy-up. We're talking about clearing every single countertop, taking down family photos, and making sure the lawn is freshly mowed. Get those cars out of the driveway, too—nothing should distract from a perfect exterior shot. This groundwork is what allows a photographer to capture images that truly resonate with buyers and renters.
Why Pro Photos Are Your Most Powerful Sales Tool
Long before anyone books a showing or walks through your front door, their first tour is happening on a screen. In today’s market, professional photography isn't a luxury; it's your most critical marketing tool. It’s what stops the endless scrolling and makes someone click on your listing to see more.
Your photos are the property's digital handshake. They instantly signal value, care, and quality. Every bit of effort you invest in prepping your home for the photographer shows up in the final images, creating a direct and often surprising return.
The Undeniable Impact of Quality Photography
The numbers don't lie. Homes listed with high-quality, professional photos have been shown to sell 32% faster than those with amateur or low-quality pictures. It doesn’t stop there. These listings also get a whopping 61% more online views and consistently command higher sale prices.
This is more than just making your house look pretty. It's a calculated strategy to reduce its time on the market and maximize what you put in your pocket. The investment in prep and professional photos almost always pays for itself through more showing requests and better offers.
A great photographer is a master of light and angles. Their skill is in finding and highlighting your home’s best features to create images that pull people in. When you've prepped the space perfectly, you're handing them a clean canvas, letting them focus solely on their craft to produce photos that sell.
Seeing Prep Work as a Strategic Investment
Every owner's goal is the same: sell or rent quickly and for the best possible price. The trick is to stop seeing the prep work as a list of chores and start seeing it as a smart business decision.
For rental property owners, this mindset is non-negotiable. It’s why so many savvy investors turn to https://edinhart.com/fresno-property-management/ to manage these details, ensuring every listing is polished and ready to attract the best tenants. Ultimately, the time and energy you put into preparation is a direct investment in a faster, more profitable transaction.
Declutter, Depersonalize, and Deep Clean Your Way to a Sale
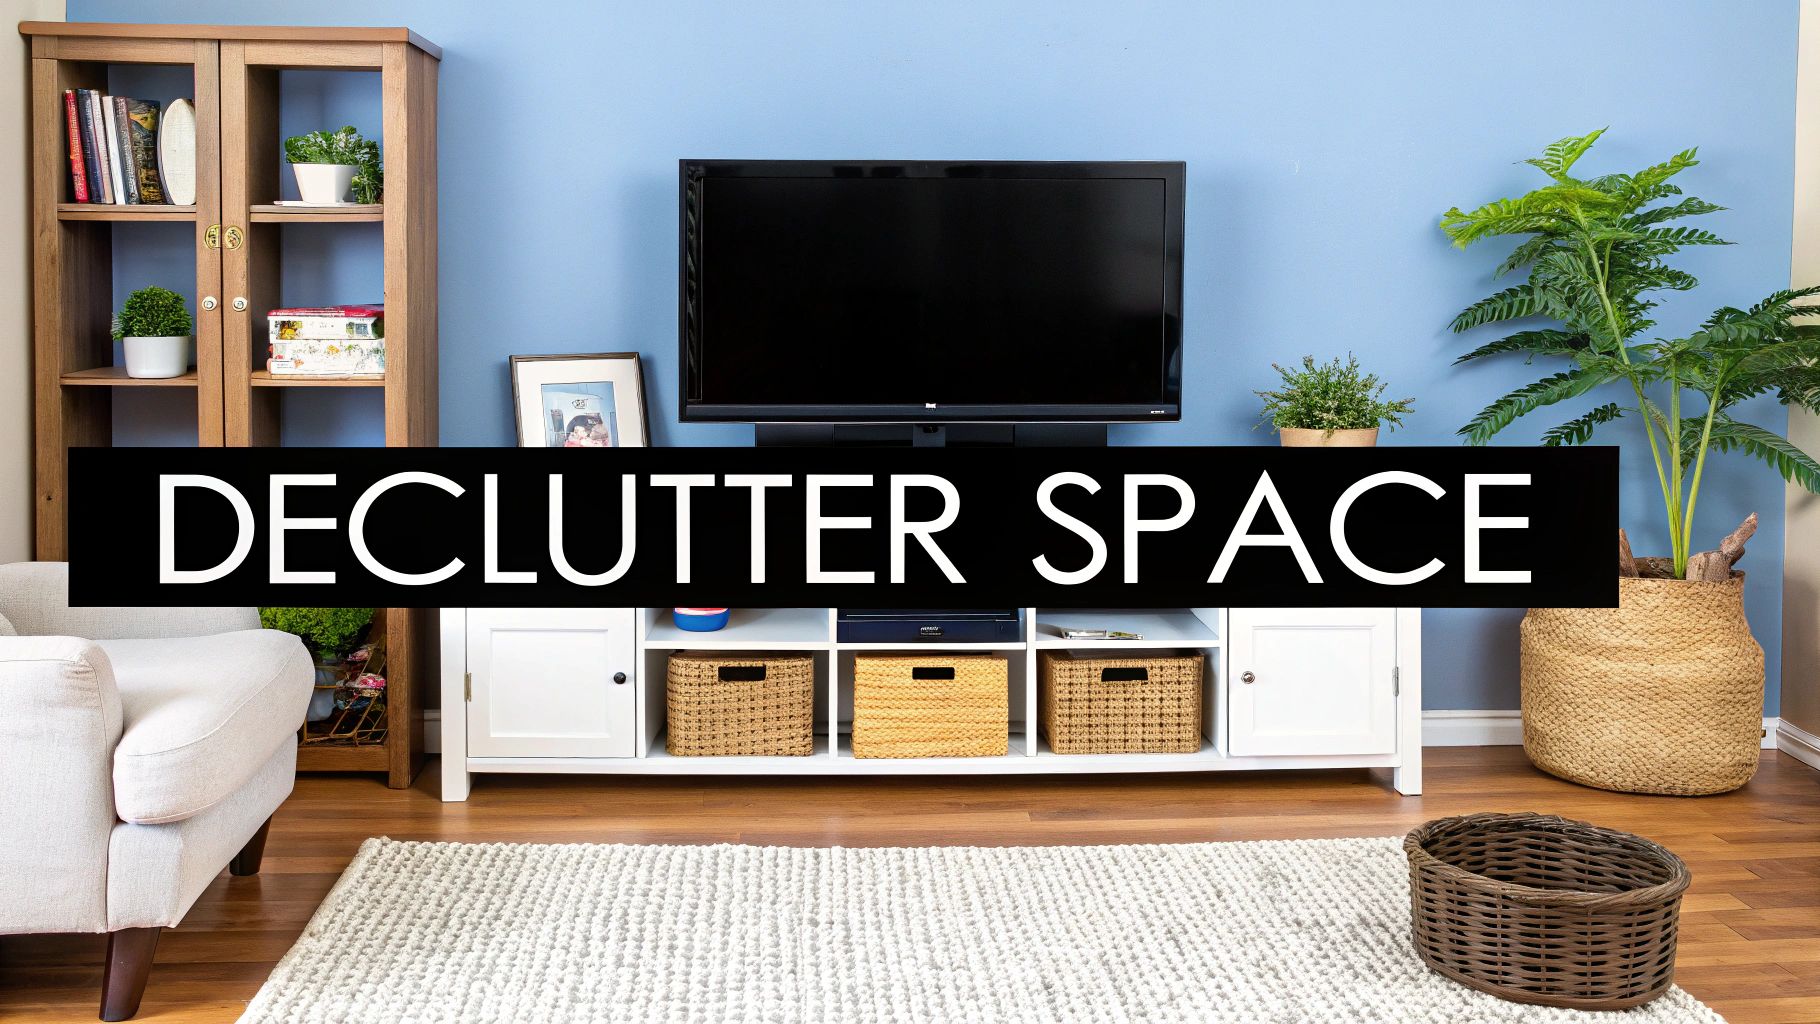
Alright, this is where the real work begins. We're moving past a simple tidy-up and into the serious business of staging a home for the camera. Your goal is to create a space that feels open, inviting, and, most importantly, like a blank canvas for potential buyers or renters. Think of it as a three-part mission: ruthless decluttering, total depersonalization, and a deep clean that leaves nothing to chance.
The kitchen and bathrooms are ground zero. As an agent, I can tell you these rooms sell homes, but only when they look absolutely pristine. This means everything comes off the countertops. Your beloved toaster, the coffee maker you can't live without, the knife block, the soap dish—all of it needs to be tucked away. A clear counter is magic on camera; it instantly makes the room look bigger and more functional.
Create a Blank Canvas
Depersonalizing your home isn't just a suggestion; it's a critical part of the process. Potential buyers need to be able to see themselves living there, and they can't do that if they're staring at your family photos.
It's time to pack away all the personal touches. Take down the wedding pictures, the kids' drawings from the fridge, and any trophies or personal collections. You're selling the dream of a new life, and your home needs to be neutral enough for buyers to project their own dreams onto it.
An empty house tells a story, but a cluttered one tells the wrong story. By removing your personal footprint, you invite others to imagine leaving their own. It’s a subtle but powerful psychological shift that can make or break a potential offer.
Make It Shine for the Camera
With the clutter gone, it's time to make every surface sparkle. I’m not talking about your average weekend spruce-up. You need to clean like your home is about to be featured in a magazine, because in a way, it is. High-resolution photos show everything.
If you're prepping a rental or just want to be incredibly thorough, using an ultimate end of tenancy cleaning checklist is a brilliant move. These guides are designed to get a property back to immaculate condition, which is precisely the standard you’re aiming for.
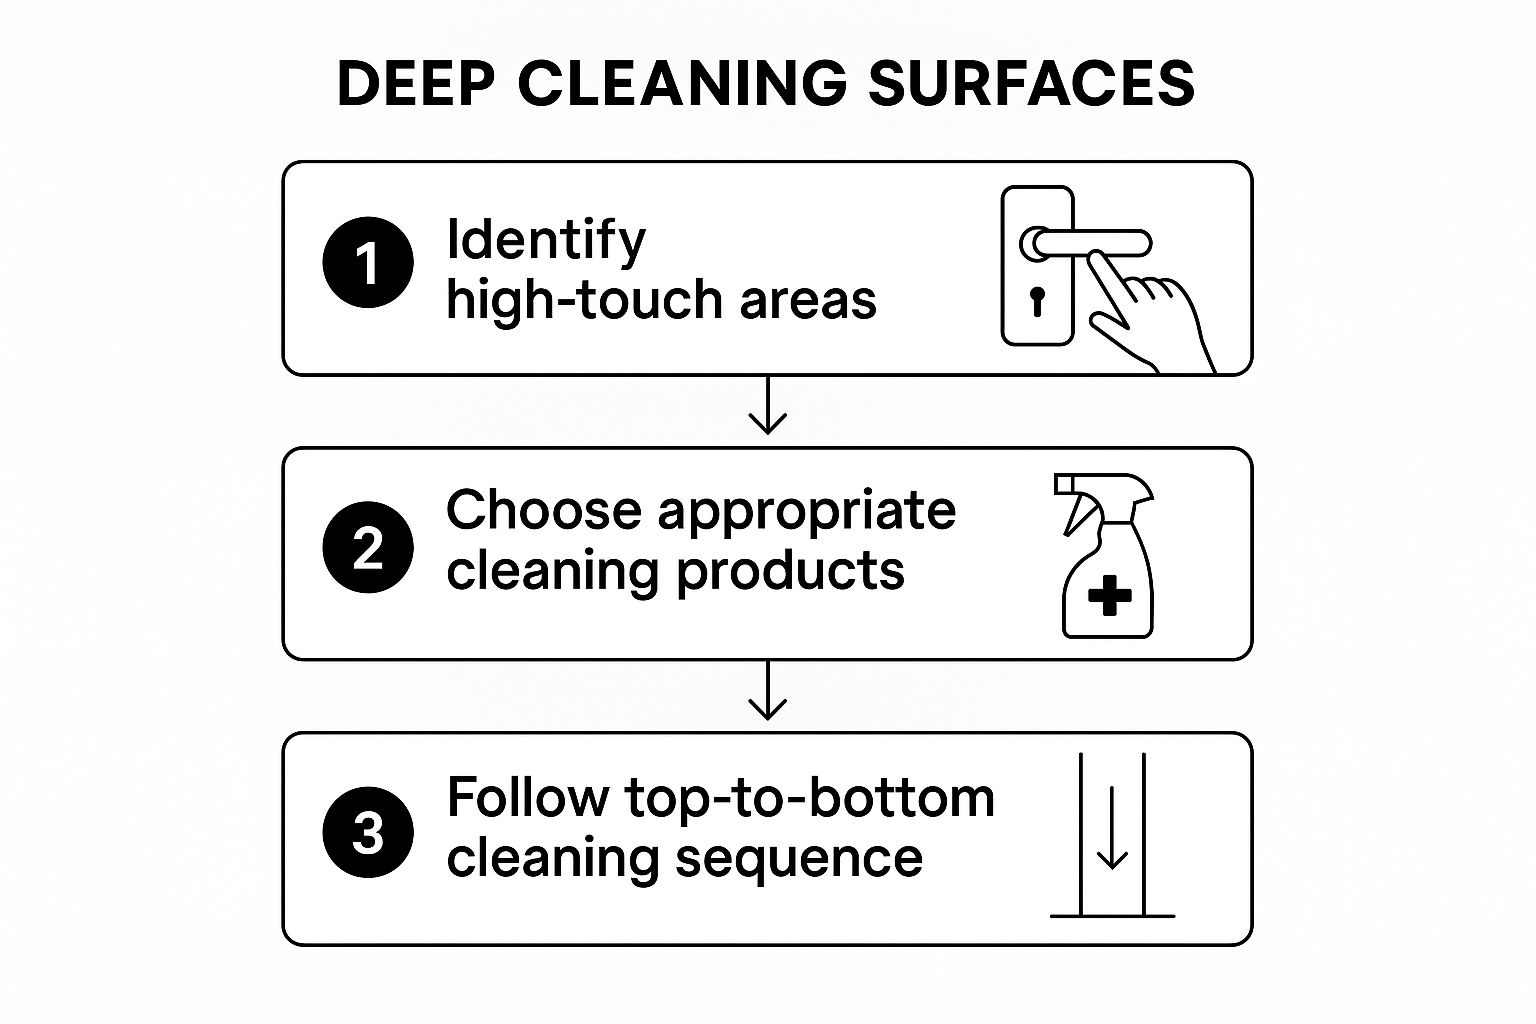
The trick is to work smart. By focusing on key areas and cleaning from the top down, you avoid re-dirtying surfaces you've already polished. This systematic approach ensures a consistently clean finish that looks fantastic on camera.
Don't Forget the Exterior Shot
Your prep work doesn't stop at the front door. The exterior photo is usually the first thing people see in a listing, so it has to be perfect. One of the most common mistakes I see is cars in the driveway or parked on the street right out front.
Always move all vehicles completely out of the frame. Park them down the block or in the garage. Clearing the driveway gives the photographer a clean, unobstructed shot of the home's architecture and curb appeal.
A little planning goes a long way here. Schedule your lawn service or call your gardener for the day before the shoot. A freshly cut lawn with crisp, clean edges looks incredible in photos and signals to buyers that this is a well-cared-for home.
Boosting Curb Appeal for an Unforgettable First Impression
We've worked hard to get the inside of the house just right, but the job isn't finished. The exterior photo is your property's digital handshake—it's the very first image a potential buyer or renter will see, and it needs to be perfect. Getting this right is a non-negotiable step when you prepare a house you are about to sell or rent for a photography session.
Think about it: this one picture sets the stage for their entire online tour. An inviting, well-kept exterior draws them in, encouraging them to explore the rest of the photos. A messy or neglected one? They'll just scroll on by.
Create an Unobstructed View
First things first, clear the decks. The single most important task is to move all vehicles out of the driveway and away from the front of the house. Nothing ruins a great shot faster or looks more unprofessional than a minivan parked right in front of the home.
Tuck your cars in the garage, park them down the street, or move them around the corner. Just get them out of the frame. This simple act creates a wide-open, unobstructed view that makes the property feel larger and more welcoming. It also gives your photographer the flexibility to find the absolute best angles without having to shoot around a car.
Think of your home’s exterior as the cover of a magazine. You wouldn't want a misplaced car or a cluttered yard ruining the main shot. A clear view instantly communicates that your property is well-maintained and ready for its close-up.
Manicure the Landscaping
Your landscaping frames your home, so it has to look sharp. This isn't something to rush on the morning of the shoot. Ideally, have your lawn service or gardener come out a day or two beforehand.
A freshly mown lawn with crisp, clean edges makes a huge impact. It shows you care. Beyond that, trim back any overgrown shrubs, pull weeds from the flower beds, and lay down a fresh layer of dark mulch to make the colors of your plants and flowers really pop. If your beds are looking a little sparse, some inexpensive seasonal flowers can add an instant splash of color that looks incredible on camera.
Final Touches for a Polished Look
It’s the little details that elevate an exterior photo from good to great. These finishing touches tell buyers that this home has been truly cared for.
To make sure your home's exterior is picture-perfect, I've put together a quick checklist. Run through these tasks right before the photographer shows up to ensure nothing gets missed.
Exterior Photo Preparation Checklist
| Task | Why It's Important | Status |
|---|---|---|
| Move all vehicles | Creates an unobstructed view and makes the property look larger. | ☐ |
| Hide bins | Garbage and recycling bins are an eyesore and detract from the home. | ☐ |
| Coil garden hoses | An unruly hose makes the yard look messy and unprepared. | ☐ |
| Clear away toys & clutter | Removes distractions and presents a clean, serene environment. | ☐ |
| Mow & edge the lawn | A well-manicured lawn signals meticulous care and maintenance. | ☐ |
| Weed & mulch flower beds | Adds color and texture, making the landscaping look vibrant. | ☐ |
| Sweep/power-wash entry | A clean walkway and porch create an inviting path for the eye. | ☐ |
These small, deliberate actions work together to create a powerful first impression. When you take the time to prepare the outside of the home properly, you give your listing the best possible chance to stand out and capture a buyer's attention from the very first click.
Stage Your Home to Highlight Space and Light
https://www.youtube.com/embed/T2VboTxboeE
Now that you’ve done the heavy lifting of deep cleaning and decluttering, it's time for the fun part: staging. This is where you shift your mindset from "my home" to "a product." The goal isn't just to make it look nice; it's to strategically highlight its best features—namely, space and light. You're creating an experience that helps potential buyers or renters envision their future here.
Your main mission is to make every single room feel as large, bright, and inviting as possible. This often comes down to how you arrange the furniture. One of the biggest mistakes I see is furniture pushed right up against the walls. Instead, try pulling your couches and chairs away from the perimeter to create more defined, intimate seating areas. This simple trick makes the room feel more open and improves the flow.
In the dining room, resist the urge to set a full, elaborate table. A simple, elegant setting for two or four is all you need to suggest a welcoming space for meals, without adding visual clutter. Remember, you're not staging for daily life; you're staging for the camera.
Create a Sophisticated, Hotel-Like Atmosphere
To cast the widest net and appeal to the most people, think "boutique hotel." You want a look that's clean, sophisticated, and inviting, yet neutral enough for anyone to project their own style onto it.
Here’s how you get there:
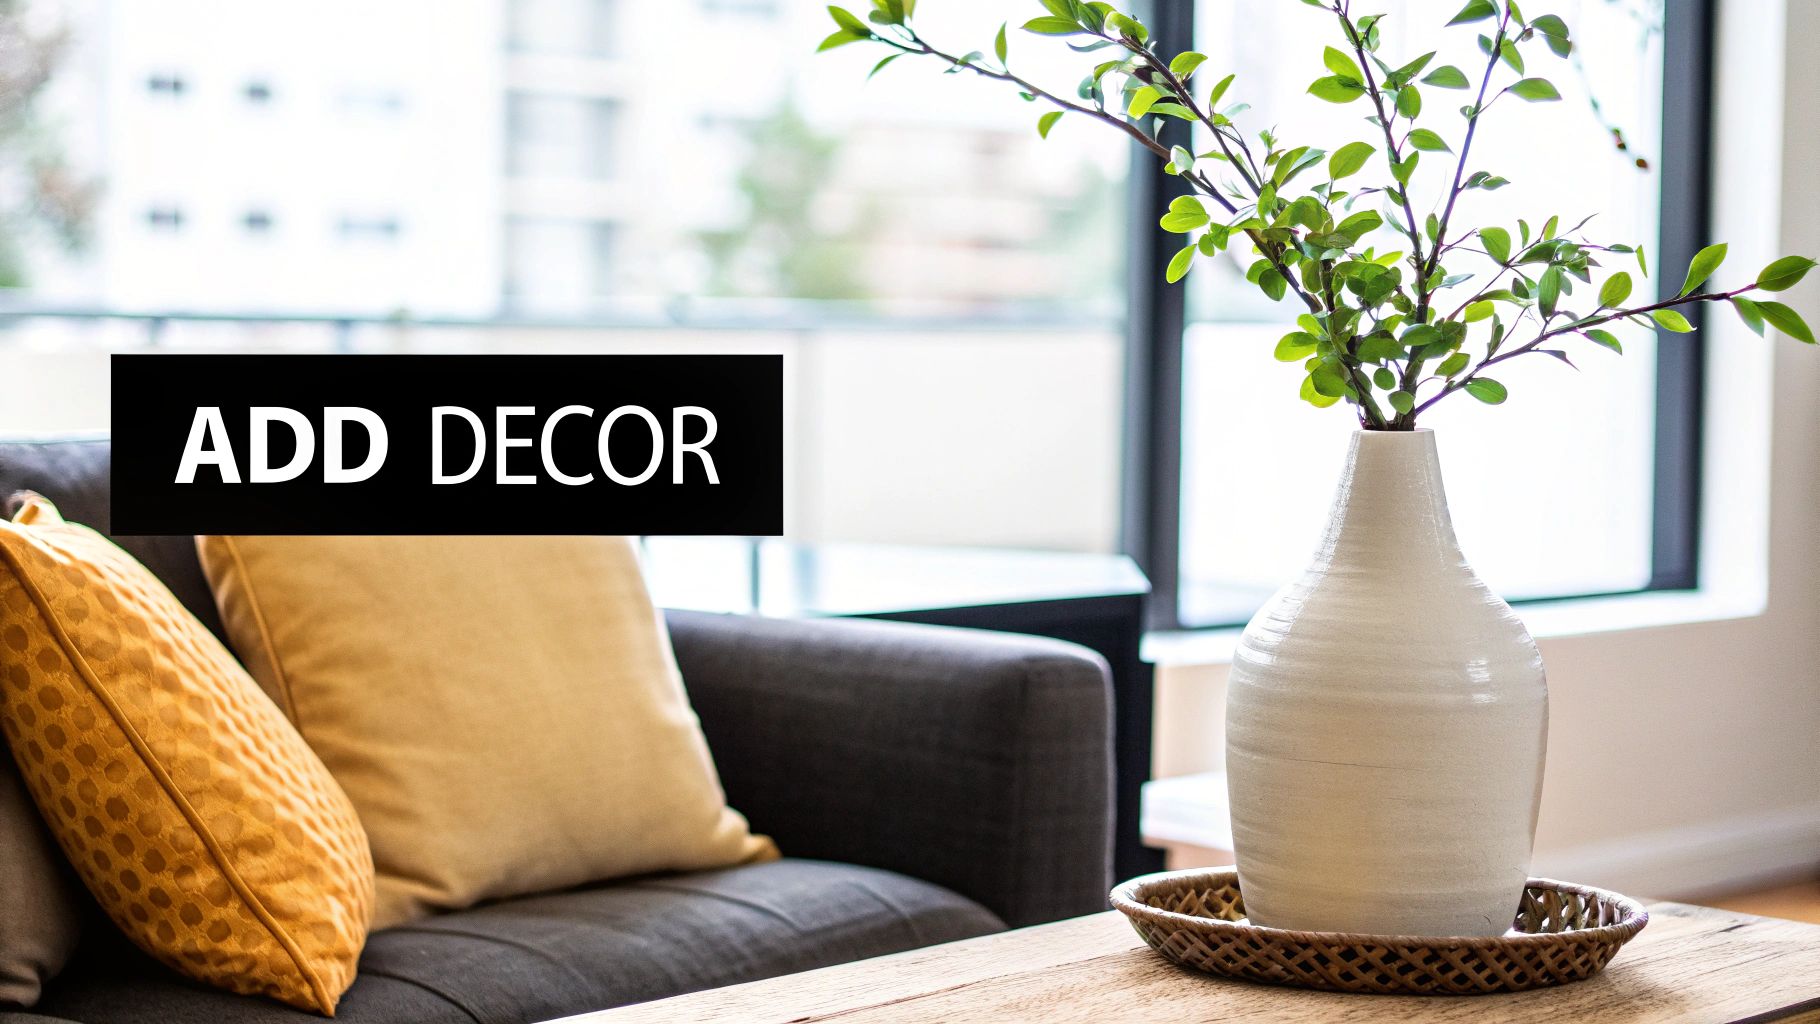
- Bring in Neutral Accents: A few tasteful, neutral-colored throw pillows on the sofa can instantly elevate the space. A neatly folded throw blanket at the foot of the bed adds a layer of texture and warmth, making the room feel cozy and complete.
- Hide the Personal History: We've already covered decluttering, but this is so important it's worth saying again. Every personal photo, kid's drawing, and sentimental keepsake needs to be packed away. When buyers see your family, it's harder for them to picture theirs.
- Leverage the Power of Paint: A fresh coat of neutral paint delivers one of the biggest returns on investment you can make before a sale. If you're stuck on shades, this guide on choosing paint colors for your rental home has some fantastic tips that work just as well for properties going on the market.
The furniture itself plays a huge role in this. You don’t need to rent a whole house full of new things, but the pieces you do use should define the room’s purpose clearly. Take a look at these Furniture Examples for Home Staging to get a feel for how designers use specific pieces to create an aspirational, high-end look. It’s all about balance—enough to show function, but not so much that it feels cramped.
Master the Art of Lighting
Lighting is the secret weapon in real estate photography. A bright, airy home feels welcoming and clean, while a dark one can feel small and depressing. Your job is to maximize every bit of light before the photographer walks through the door.
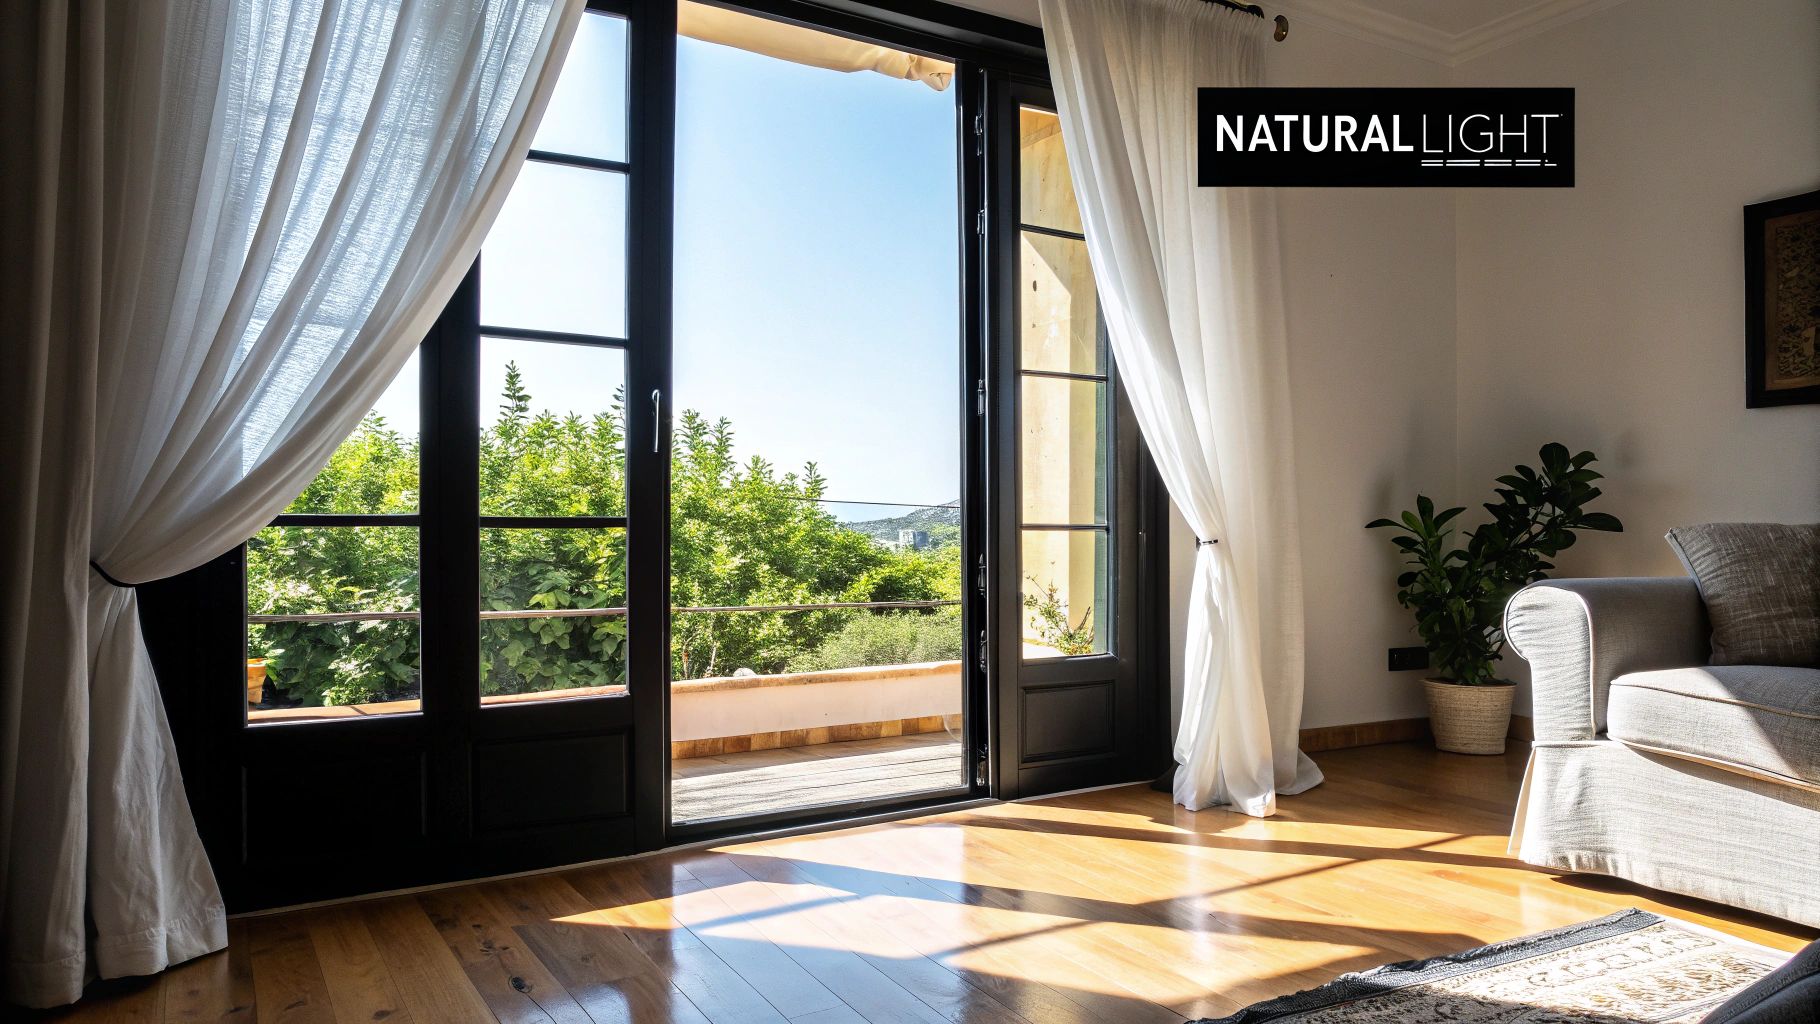
Start with natural light—it's always the best. Open every single blind, curtain, and shade throughout the entire house. Let that sunlight pour in. After that, do a full walkthrough and turn on every single artificial light. Yes, every one: ceiling fixtures, table lamps, under-cabinet lights in the kitchen, and even the light above the stove.
One of the most critical and easily overlooked details is checking your light bulbs. A single burnt-out bulb in a photo can cast a gloomy shadow and make a whole room feel off. Do a final sweep and replace any dead bulbs. For a truly professional look, try to make sure all the bulbs in a single room are the same color temperature (e.g., all warm white). It creates a consistent, polished glow in the final photos.
Your Final Pre-Shoot Walkthrough Checklist
The photographer is on their way, and all your hard work is about to pay off. This isn't the moment for a big project; it’s all about the final polish. Think of this last-hour walkthrough as your chance to catch the small, easily missed details that can make a massive difference in the photos. It's the final once-over before showtime.
Your main job right now is to erase any lingering signs of daily life. Even if the house was sparkling yesterday, give every countertop in the kitchen and bathrooms one last, streak-free wipe. Check the mirrors for any new smudges or water spots that seem to appear out of nowhere. These small touch-ups are what separate good photos from great ones.
Perfecting the Final Details
Alright, now it’s time for a quick scan of each room. You're looking for anything that screams "someone just left."
- Make sure every single bed is perfectly made. Fluff those pillows and smooth the comforter.
- In the bathrooms, all toilet seats must be down. It’s a tiny detail, but it has a huge impact, making the space feel more like a pristine hotel than a busy home.
This is also your last chance to hide any evidence of your furry family members. Put away the food and water bowls, toss the toys in a closet, and move pet beds completely out of sight. You want potential buyers or renters to envision their life in this fresh, neutral space, not yours.
A critical part of this final walkthrough is checking your lighting. Turn on every single light in the house. But don't just flip the switches; double-check that you've avoided common home lighting mistakes that could sabotage the photos. Bright, consistent lighting is what makes a room feel truly inviting on camera.
Creating a Sense of Flow
Here's one last, crucial tip that helps the photographer tremendously: manage the flow of the house for the camera. Professional photographers almost always use wide-angle lenses to make spaces feel expansive and connected. You can amplify this effect by making sure all interior doors are open.
This means bedroom doors, closet doors (especially if they reveal a well-organized space), and any doors connecting the main living areas. An open door is a visual invitation. It lets the viewer's eye travel seamlessly from one room to the next, creating the feeling of a larger, more cohesive floor plan.
With this final walkthrough complete, you can be confident that every photo will capture your home in its absolute best light, showcasing all the effort you’ve invested.
Answering Your Last-Minute Photo Prep Questions
Even after you’ve followed every step, it’s completely normal to have a few last-minute questions as photo day approaches. Don't worry, that just means you care about getting it right. Let's tackle some of the most common concerns I hear from homeowners.
The biggest question I get is, "What if I missed something?" Honestly, if you've focused on the big-impact items, you're in great shape. Don't stress over a tiny detail you might have overlooked; concentrate on what truly makes a difference on camera.
If You're Short on Time, Hit These Hotspots
Feeling the time crunch? If you can only do a few things, make them count. Zero in on these non-negotiable tasks that photographers and potential buyers notice immediately.
- Bare the Countertops: This is my golden rule. Do one final sweep of your kitchen and bathrooms. Toasters, knife blocks, soap dispensers, toothbrushes—it all needs to disappear. Clear counters make a room feel instantly larger and cleaner in photos.
- Hide the Personal Touches: Your goal is to help buyers picture their life in the home, not yours. This means taking down family photos, kids' drawings from the fridge, and any other unique personal items. You're creating a welcoming, neutral space.
- Clear the Driveway (No Excuses!): First impressions are everything, and the front exterior shot is usually the very first photo buyers see. It is absolutely essential to move all cars from the driveway and the street in front of the house. An unobstructed view showcases the property itself, not your vehicle.
- Tidy Up the Yard: A manicured lawn sends a powerful message that a property is well-maintained. A fresh mow, clean edges, and a quick sweep of stray leaves or debris make a world of difference.
Making Your Listing Unforgettable
Once the house is prepped, the magic really begins. But great photos are just one piece of the puzzle. To really make your listing stand out, you need to think about the full visual package.
We've seen that properties with aerial photos in their listings sell an average of 68% quicker than homes without them. And while only about 10% of real estate agents use video tours, those who do see inquiry rates jump by a staggering 403%. On top of that, roughly 22% of listings now include virtual tours, which let people walk through the space from anywhere in the world.
A great photographer knows exactly how to use light, angles, and composition to make your home shine. When you hand them a perfectly prepped space, you’re giving them the ideal canvas to create images that will truly captivate buyers.
Remember, preparing your home for photography is a strategic financial move. Keep track of what you spend on cleaning, staging, and photography. For rental property owners, these expenses are a key part of your business finances; you can find out more about how to prepare for tax season when you own a rental property in our guide.
At Edinhart Realty and Property Management, we know that powerful marketing starts with perfect preparation. We use professional photography and expert staging to make sure your property gets noticed and fetches the best possible price, whether you're selling or renting. See how our approach can work for you at https://edinhart.com.


