

So, you've decided you can't stand that popcorn ceiling for one more day. I get it. The good news is you absolutely can install beadboard directly over a popcorn ceiling. It's a fantastic way to get a clean, modern look without the soul-crushing mess of scraping everything down.
A Smarter Fix Than Scraping
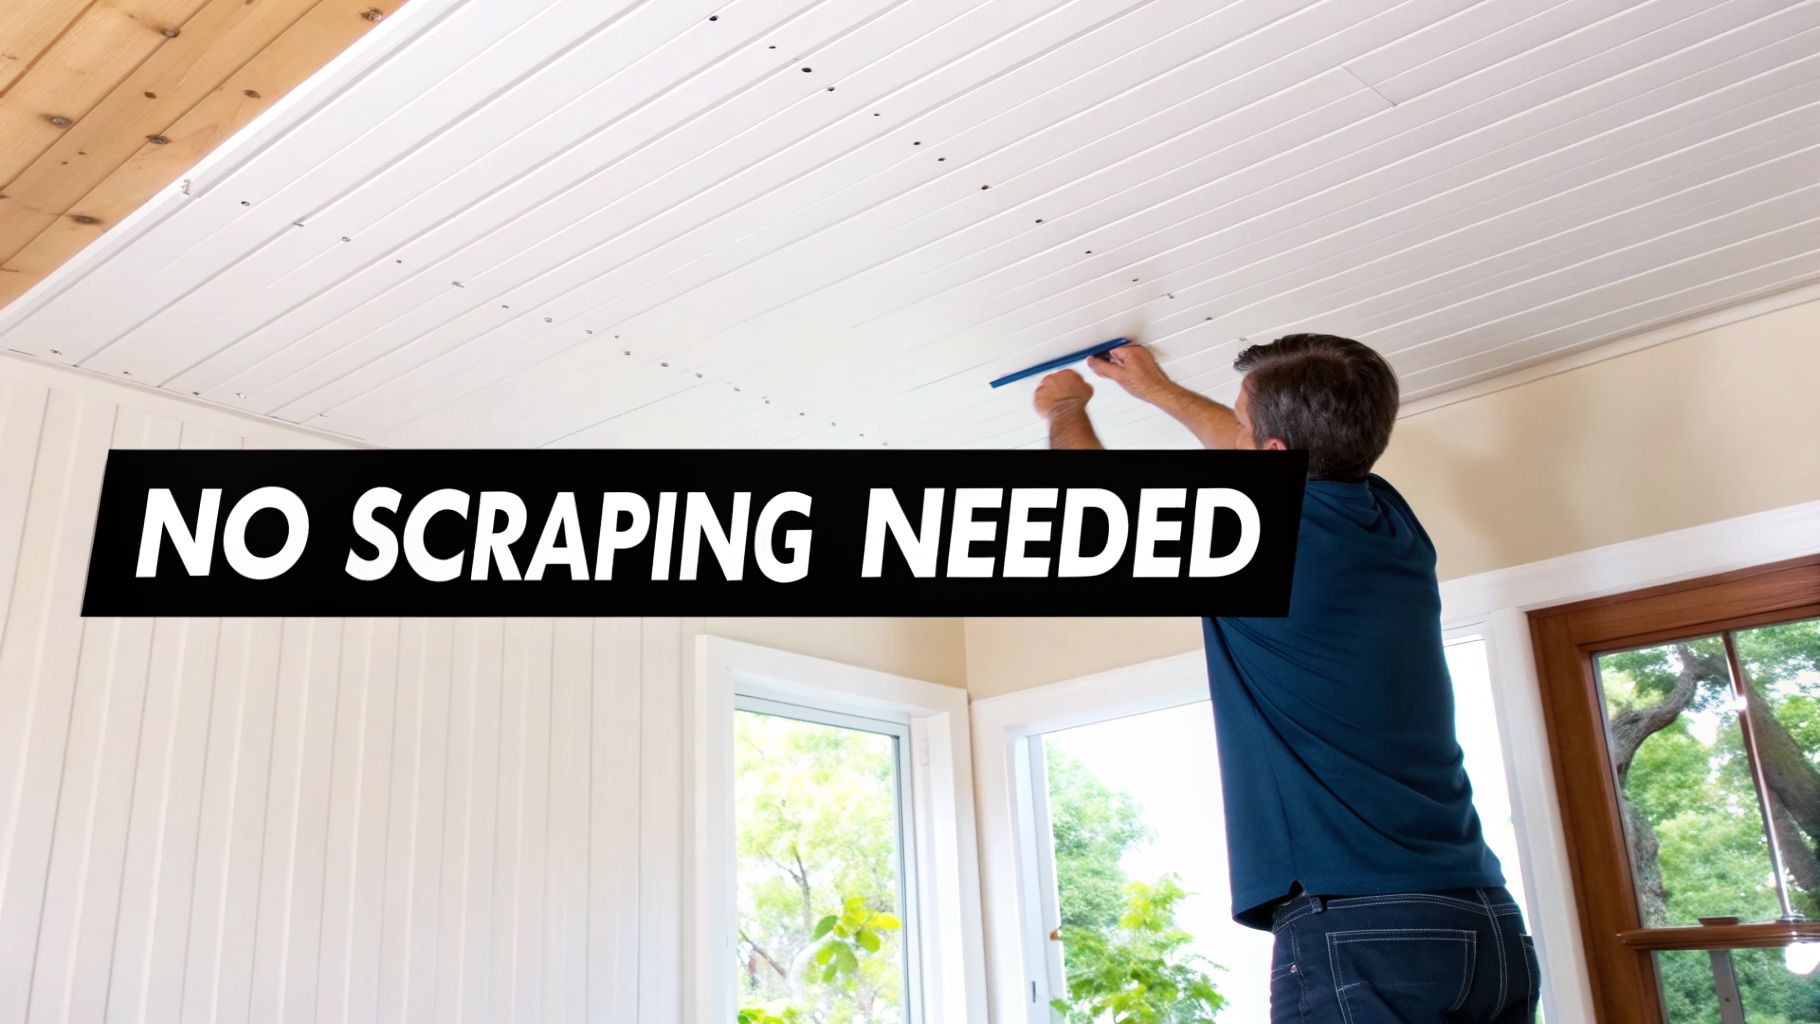
Let's be honest, the thought of scraping a popcorn ceiling is enough to make most homeowners put the project off for another year. You're imagining rooms draped in plastic, a fine white dust settling on everything, and the lingering worry about asbestos in older homes. It’s a huge, messy job.
But what if you could just skip all that? Installing beadboard panels right over the top is a game-changer. I’ve seen this project completely transform a room in a weekend, and the benefits are pretty clear:
- No Mess, No Hazardous Dust: You leave the existing ceiling texture right where it is. This is the biggest win, especially if you suspect your ceiling might contain asbestos.
- A High-End, Custom Look: Beadboard adds a layer of architectural detail that looks intentional and polished. It works with almost any style, from a coastal vibe to a modern farmhouse.
- Total Coverage: Got stains? Cracks? Uneven spots? The beadboard creates a perfectly clean slate, hiding all of those imperfections for good.
This is more than just a cover-up; it's a legitimate upgrade. And while beadboard is an amazing choice, checking out an ultimate guide to finishing basement ceilings can give you even more ideas for different spaces in your home.
Covering a popcorn ceiling with beadboard is a strategic move that adds real value to your home. It’s one of the smarter home renovations for resale because it delivers a major visual update with minimal disruption.
I'm going to walk you through what you actually need to know to get this done, from the first safety checks to that final coat of paint. With a solid plan and the right tips, you can pull this off and get a professional-looking finish.
Once it's done, you'll be amazed at how much brighter, cleaner, and more put-together the room feels. It’s the kind of project that will make you wonder why you even thought about scraping in the first place.
Planning Is Everything: Setting Your Project Up for Success
A great-looking beadboard ceiling doesn't happen by accident. I've seen it time and again—rushing the prep work is a surefire way to end up with a crooked panel, wasted materials, and a finish that just looks off. Like any project worth doing, it all comes down to smart planning. To get the big picture right, it helps to understand the basics of planning a home renovation successfully.
Before you even think about buying materials, there's a critical safety check you absolutely cannot skip. If your house was built before the late 1980s, you have to test that popcorn ceiling for asbestos.
Disturbing asbestos can release dangerous fibers into the air, and it's a risk you should never take. The good news is that testing is simple. You can grab an at-home kit, collect a small sample, and mail it off to a lab. You'll usually have your answer in about a week. Seriously, don't skip this.
Nailing Your Measurements and Material List
Once you've gotten the all-clear on the safety front, it's time to break out the tape measure. Getting your numbers right from the start saves you from last-minute hardware store runs or, even worse, spending money on materials you don't need.
First, measure the room's length and width. Multiply those two numbers together to find the total square footage. So, if you have a room that’s 12 feet wide by 15 feet long, your ceiling is 180 square feet (12 x 15).
Here’s a pro tip: Always add a 10-15% overage to your total when you buy the beadboard. This buffer is your best friend—it covers any mis-cuts, tricky angles, or a panel that gets dinged up. For that 180 sq. ft. room, you'd want to buy at least 198 sq. ft. of beadboard.
Don't stop there. Your shopping list needs a few more key items:
- Construction Adhesive: Look at the tube—the manufacturer will tell you how much area it covers. I always buy one extra tube. Always.
- Trim or Molding: Measure the room's perimeter to figure out the linear feet you'll need for a clean, finished edge. Just like the panels, add 10% for miter cuts and mistakes.
- Fasteners: For most projects, a box of 1.5-inch to 2-inch brad nails will do the trick.
Getting Your Tool Kit Ready
There’s nothing that kills momentum faster than having to stop everything to go find a tool you forgot. Lay everything out beforehand so you can get into a good rhythm once you start.
Essential Installation Tools:
- Stud Finder: A good one is non-negotiable for finding those ceiling joists. It's critical if you're using furring strips, but it's just as important for anchoring your panels securely even if you're gluing them directly.
- Tape Measure & Pencil: You'll have one of these in your hand pretty much the whole time.
- Chalk Line: This is the easiest and fastest way to snap perfectly straight guidelines on your ceiling.
- Circular Saw or Jigsaw: You'll need a saw to cut panels to the right length and to create openings for light fixtures or ceiling vents. A fine-tooth blade will prevent shredding and give you cleaner edges.
- Brad Nailer: You could hammer everything by hand, but trust me, a pneumatic or battery-powered brad nailer will make the job go ten times faster and save your arm.
- Caulk Gun: You'll need this for applying the construction adhesive and later for caulking the seams for a professional finish.
With your materials counted and your tools organized, you're officially ready to start the fun part. Taking the time to do this prep work makes the actual installation go so much smoother. And hey, if you get to this point and realize it's more than you want to tackle, you can always learn how to negotiate with contractors to get a pro to handle it for you.
Picking the Right Installation Method
Okay, you've decided to cover that old popcorn ceiling with beadboard. That's the first step. Now comes the most important decision of the entire project: how are you going to attach it?
There's no single right answer here. The best technique comes down to the condition of your existing ceiling. You've got two main routes: sticking the panels directly to the ceiling or building a simple frame with furring strips. One is quick and dirty, while the other is the professional-grade solution for a flawless finish.
The Direct-to-Ceiling Method
Think of this as the express lane for your beadboard project. It’s pretty straightforward—you apply a quality construction adhesive to the beadboard panels, press them into place, and pop a few brad nails in to hold them tight while the glue cures. It’s fast, uses fewer materials, and you can knock it out in a weekend.
This approach is only a good idea if your ceiling is already flat and in decent shape. A little bit of texture from the popcorn is fine, but if you’ve got serious dips, sags, or waves, this method will just highlight them. A good test is to take a long, straight 2×4 and hold it up to the ceiling. If you don't see any major gaps, you're probably good to go.
This is the method for you if:
- Your ceiling is level and structurally sound (no water damage or sagging).
- You're confident you can hit drywall or, even better, ceiling joists with your brad nails.
- Getting the job done quickly with minimal fuss and cost is your top priority.
But be warned, this method has its limits. If that popcorn texture is extra chunky or crumbly, the adhesive might just stick to the texture instead of the drywall underneath, which means you won't get a secure, long-lasting bond.
Here's a pro tip for going direct: Take a wide putty knife and just lightly scrape off the highest, loosest "popcorn" peaks. You're not trying to remove the whole texture—just knock down the high points to give the adhesive a flatter, more stable surface to grab onto. It makes a huge difference.
The Furring Strip Method
If your ceiling has more in common with a gentle ocean wave than a flat surface, the furring strip method is your ticket. This technique is all about building a brand-new, perfectly level framework to attach your beadboard to, making the old ceiling's condition irrelevant.
You'll start by finding your ceiling joists with a stud finder. Then, you screw thin strips of wood (we call them furring strips, usually 1×2 or 1×3 boards) perpendicular to the joists. This simple grid becomes the new, solid surface for your beadboard panels.
The real magic here is that the furring strips completely bridge any sags, waves, or imperfections in the old ceiling. By slipping small wood shims between the furring strips and the joists in low spots, you can create a perfectly flat and level plane, even if the ceiling above it is a total mess. This is how the pros do it, especially in older homes where things have settled over decades.
Go with this method if:
- Your ceiling is noticeably wavy, uneven, or sagging.
- You are a perfectionist and want a guaranteed, flawlessly flat finish.
- You're installing heavier wood planks instead of lightweight beadboard. The furring strips provide the robust anchor points you'll need.
It definitely adds an extra step and a bit more to your materials list, but building this frame is the only surefire way to get a dead-straight, professional-looking ceiling that will stay that way for good.
Comparing Beadboard Installation Methods
To make the choice crystal clear, let's put these two methods side-by-side. Use this table to decide whether the direct-to-ceiling or furring strip method is the right choice for your project's specific needs.
| Method | Ideal Ceiling Condition | DIY Skill Level | Estimated Time |
|---|---|---|---|
| Direct-to-Ceiling | Flat and structurally sound | Beginner | 1-2 days |
| Furring Strips | Uneven, wavy, or sagging | Intermediate | 2-3 days |
Ultimately, your ceiling's condition really makes the decision for you. Taking a few minutes to accurately assess what you're working with is the most important part of the job. The direct method is fantastic for a quick cosmetic upgrade on a good surface, but the furring strip method is a permanent, structural solution that hides every flaw and guarantees a perfect result every time you install beadboard over a popcorn ceiling.
A Practical Guide to Installing Beadboard Panels
Alright, this is where your planning pays off and you start to see your new ceiling come to life. The trick here is to be methodical. Take your time with each panel, because getting the first one right makes the rest of the job go smoothly.
This little flowchart is a great visual guide for deciding which installation method is right for your ceiling.
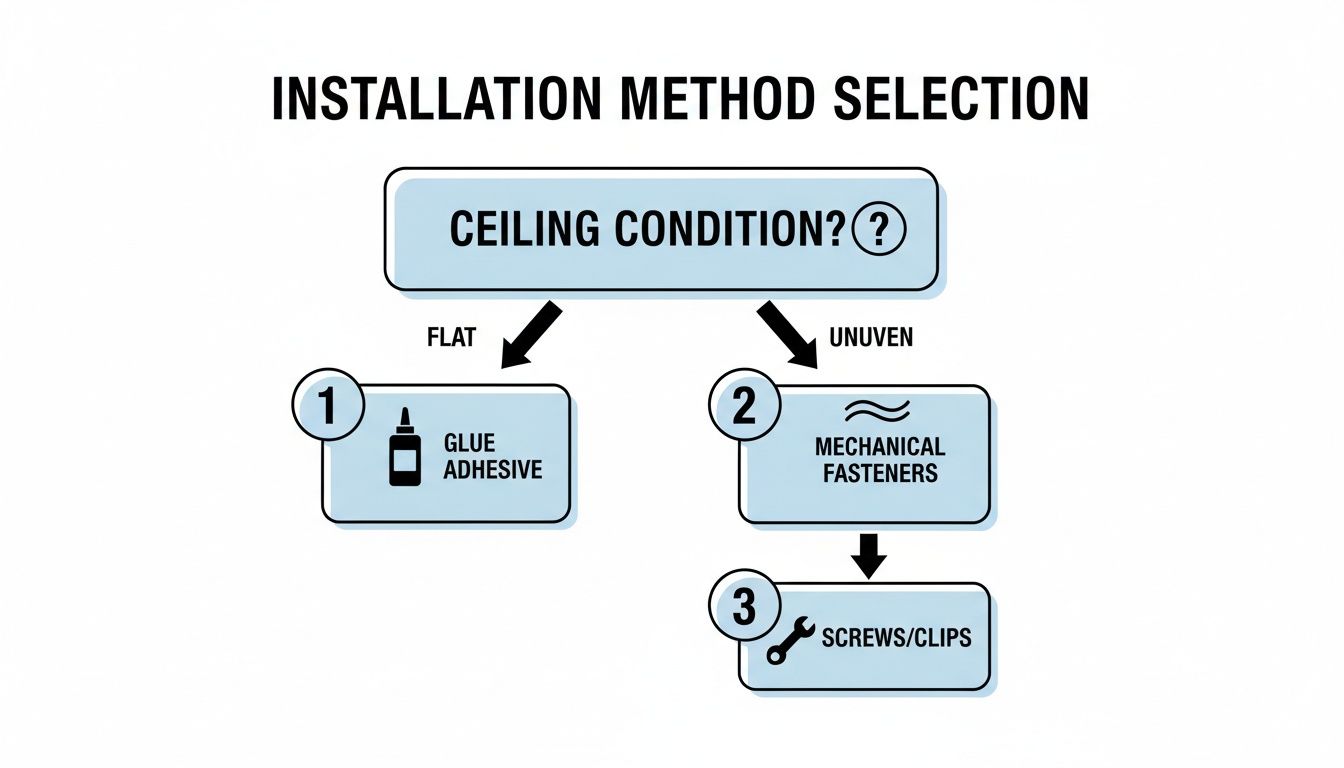
Essentially, if your ceiling is flat and in good shape, you can probably get away with a direct adhesive install. But if it's got any dips or waves, you’ll need to build out a simple frame with furring strips to get a level surface. We’ll walk through both ways so you’re ready for anything.
The Direct-to-Ceiling Installation
When your ceiling is nice and flat, going direct is the quickest path to a finished look. This whole method really comes down to a good adhesive bond and some smart nailing.
Start by prepping your first panel. Measure and cut it to the right length using a circular saw or jigsaw with a fine-tooth blade to keep the edge clean. Before you even think about glue, do a "dry fit"—just hold the panel up to make sure it's a perfect fit.
Once you’re happy with the fit, load a tube of high-quality construction adhesive into your caulk gun.
- Lay down a generous S-shaped bead of adhesive along the back of the panel.
- Follow that with a solid line of adhesive all the way around the perimeter, about an inch in from the edge.
- This one-two punch keeps the middle from ever sagging and seals the edges tight against the old ceiling.
This is not the time to be stingy with the adhesive. You need enough for it to push through the popcorn texture and grab onto the drywall underneath. I’ve seen projects fail because someone used too little glue, and the panels started pulling away months later.
With the adhesive on, press the panel firmly against the ceiling. Now it’s time for the brad nailer. The nails are mainly to hold everything in place while the glue cures, but they also provide great secondary support.
You’ll want to use 1.5-inch or 2-inch brad nails. Pop a nail in every 6 to 8 inches along the panel's edges, and more importantly, try to sink a few nails directly into the ceiling joists you marked earlier. That’s what gives it real holding power.
Expert Tip: The tongue-and-groove design is your best friend for hiding nails. Whenever you can, angle your nailer and drive the brad right through the "tongue" of the panel. The "groove" on the next piece will slide right over it, and the nail head will completely disappear.
Just keep this process going across the room, locking each new panel into the last one. A tight seam is what gives you that professional, seamless finish.
The Furring Strip Installation
If your ceiling has any sags, waves, or high spots, furring strips are a non-negotiable. This approach lets you build a brand-new, perfectly level grid to attach the beadboard to, essentially making the old, uneven ceiling a total non-issue.
First things first, find those ceiling joists. A good stud finder is your best tool here. Mark the center of every joist at both ends of the room, then snap chalk lines across the ceiling to give yourself a clear grid to work with.
You’re going to install the furring strips perpendicular to your joists. This creates a strong, interlocking frame. Most of the time, 1×3 pine boards are perfect for this.
Attach the first furring strip so it’s sitting flush against the wall. Drive 2.5-inch screws through the board and into every ceiling joist it crosses. Make sure those screws bite hard into the joists; this is your anchor.
Here comes the leveling part. As you install the rest of the furring strips—usually spaced 16 or 24 inches on center—use a long level or a straightedge to check for flatness between them. If you hit a low spot on the ceiling, just slide a few thin wood shims between the furring strip and the joist before you sink the screw.
That shimming process is what makes all the difference. It takes some patience, but it’s the only way to get a dead-flat plane for your new ceiling. Once the grid is up, you’ve got a rock-solid, perfectly level surface.
Attaching the beadboard to the furring strips is actually easier than the direct-glue method.
- Cut your first panel and hold it in place.
- Use a brad nailer with 1.5-inch nails to attach the panel to every furring strip it crosses.
- No need for construction adhesive here—the furring strips and nails do all the work.
Work your way across the room, locking and nailing each panel. The end result is a beautiful new ceiling that’s built to last and, most importantly, is perfectly straight.
Navigating Obstacles and Seams
Let's be real: no room is a perfect rectangle. You’re going to have to deal with light fixtures, vents, and odd corners. Your tape measure is your best friend.
For round openings like a ceiling fan or light fixture box, a hole saw attachment for your drill is the way to go. Measure the fixture's location, transfer those measurements to your panel, and drill the hole before you install it. Always drill from the finished side to prevent ugly tear-out on the face of the panel.
For square openings like an HVAC vent, a jigsaw is the tool for the job.
- Measure and draw the cutout on the panel.
- Drill a starter hole inside one of the corners—just big enough for your jigsaw blade.
- Carefully follow your lines to cut out the opening.
How you handle seams is what really separates a DIY-looking job from a professional one. If you have to join two panels end-to-end, try to make that seam land on a ceiling joist or furring strip. Instead of a simple 90-degree butt joint, cut the ends at a 45-degree angle to create a "scarf joint." This slight overlap is much easier to fill with wood filler and caulk, making the seam practically vanish after you paint.
Achieving a Professional Finish
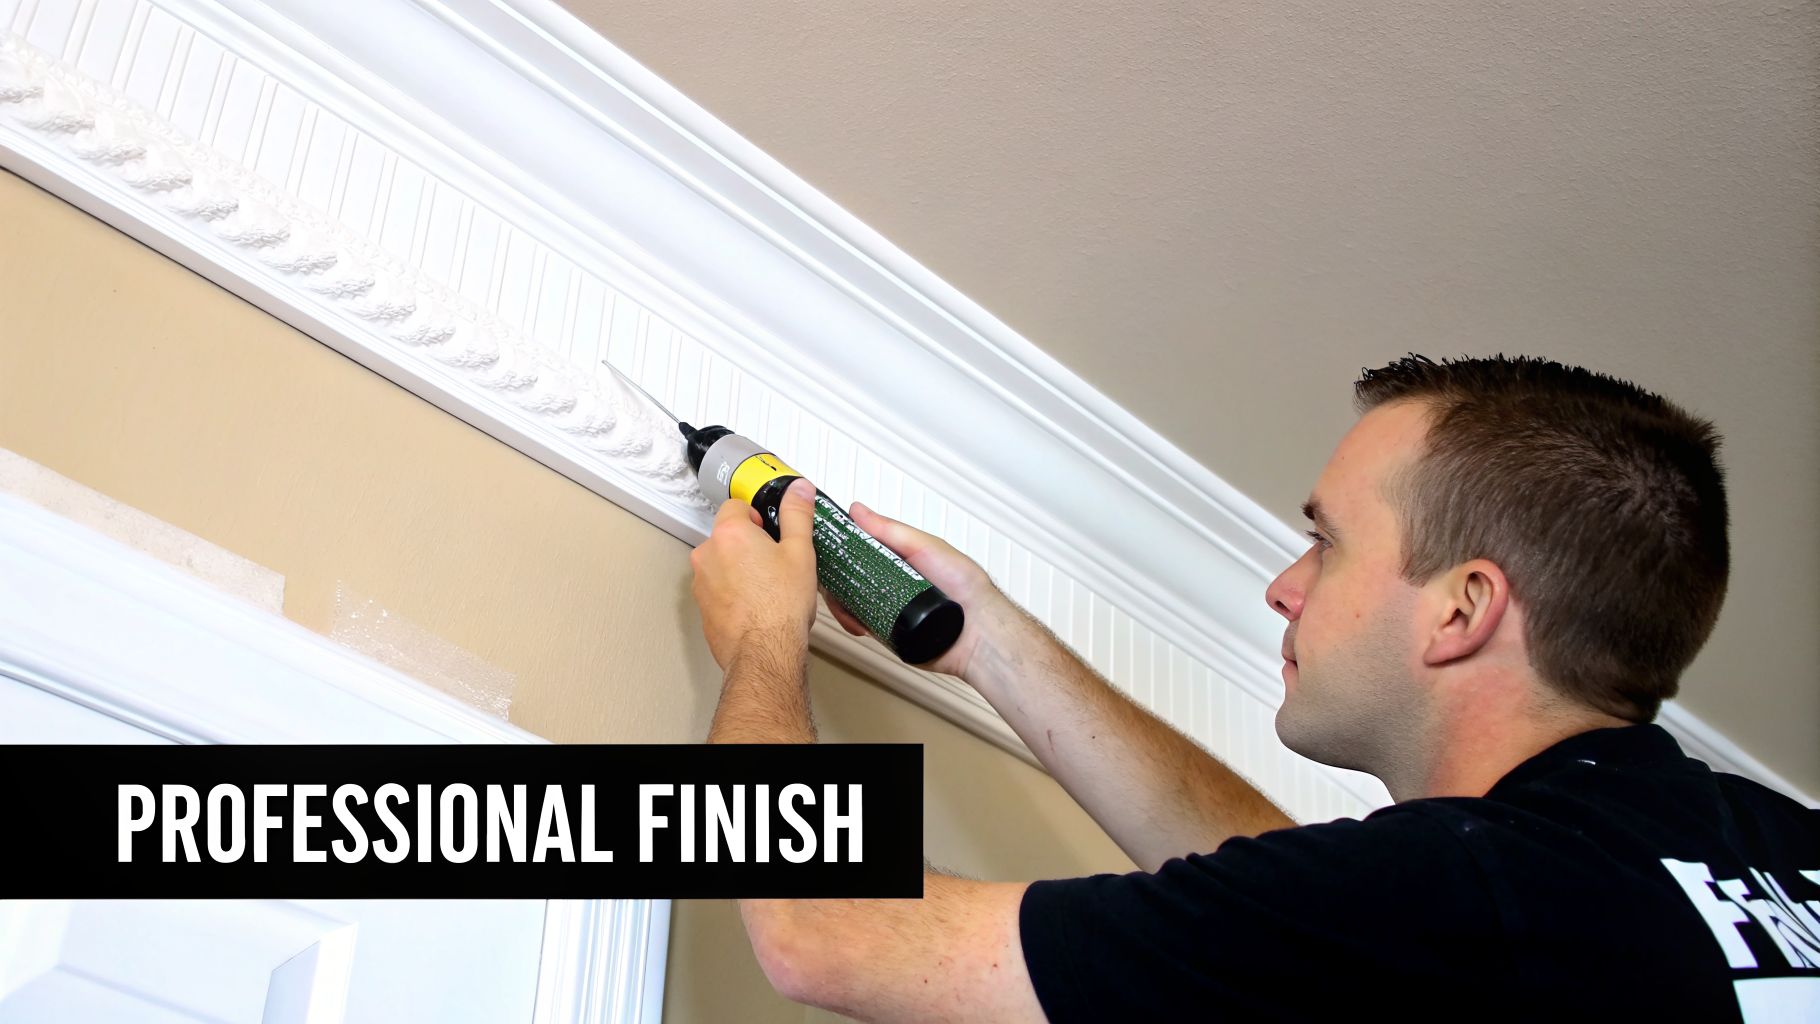
You’ve got the last panel up. Now comes the part that separates a decent DIY job from one that looks truly professional. I'm talking about the final 5% of the work—the finishing touches that make the ceiling look like an original, high-end feature of the home.
These final steps are all about hiding the evidence of your hard work. This is how you’ll camouflage the seams, nail holes, and necessary gaps, turning a series of individual panels into a single, flawless surface. Don't rush this stage; it’s where you get that polished look.
Trim Out the Edges
First things first, let's deal with the perimeter of the room. No matter how precise your cuts were, you'll have a small gap where the beadboard meets the wall. This is exactly what trim is for, and you've got a few solid options.
- Quarter Round Molding: This is a simple, clean choice. It neatly covers the gap without being too flashy and is very forgiving to install.
- Crown Molding: If you want a more dramatic and formal look, crown molding is the way to go. It adds a ton of architectural character and can even make the ceiling feel a bit taller.
- Simple Cove Molding: This is a great middle ground. It’s more decorative than quarter round but less imposing than a large crown molding.
Whatever you pick, use a miter saw for clean corners—usually 45-degree angles for a standard room. When you install it, make sure you're securing the trim to the wall studs and top plate with a brad nailer, not just to the new beadboard. This gives it a rock-solid hold.
Fill and Caulk for a Seamless Look
With the trim up, it’s time to make every nail hole and seam completely vanish. For this, you’ll need some quality, paintable wood filler and a flexible putty knife.
Slightly overfill every nail hole with the filler. After it has dried completely, sand it down perfectly smooth using a fine-grit sanding block; 220-grit is perfect for this. When you run your fingers over it, you shouldn't be able to feel the patch at all.
Next up is caulk. For a professional finish on your beadboard over popcorn ceiling project, this step is absolutely essential.
Run a thin, continuous bead of paintable latex caulk into the seam where your trim meets the ceiling and where it meets the wall. You'll also want to caulk any gaps between beadboard panels that aren't perfectly tight. Smooth the bead with a wet finger or a caulking tool, then immediately wipe away the excess with a damp rag.
This simple step creates a seamless transition that looks incredibly sharp and clean once painted. It gets rid of ugly shadow lines and makes the whole installation feel like a single, cohesive unit.
Prime and Paint Your New Ceiling
The final touch is paint. Even if you bought pre-primed beadboard, you should still apply your own coat of a good stain-blocking primer. This is your insurance policy against any wood tannins or knots bleeding through and causing yellow stains later on.
Once the primer is fully cured, you can move on to your topcoat. For ceilings, a satin or semi-gloss finish is almost always the best choice. Unlike a flat finish, these sheens reflect a little light, which brightens up the room and makes the surface much easier to clean. They also do a fantastic job of highlighting the subtle texture of the beadboard. For more pointers, take a look at our guide on choosing paint colors for your rental home.
Apply two thin, even coats of paint, making sure to let it dry properly between coats. Once that final coat is dry, step back and enjoy your work—a beautiful, custom-looking ceiling that has completely transformed your space.
Answering Your Beadboard Ceiling Questions
Even with the best plan, you’re bound to have a few questions before you start a project like this. Let's tackle some of the most common ones I hear from homeowners, so you can move forward with confidence.
Can I Install Beadboard Over a Damaged Ceiling?
I get this question all the time, and the answer isn't a simple yes or no. You should never install beadboard over a ceiling that has active water damage or is structurally sagging. Those are red flags for bigger issues, like a roof leak or problems with your joists, and they must be fixed first.
Covering up a serious problem is only going to lead to more headaches down the road, from mold to potential structural failure. However, if your ceiling is just a bit wavy, uneven, or has some old, repaired cracks but is otherwise solid, the furring strip method is your best bet. It allows you to build a new, perfectly level framework right over the old ceiling's minor flaws.
How Much Does This Project Cost?
For a DIY installation, beadboard is a very budget-friendly upgrade. On average, you can plan on spending between $2.50 and $6.00 per square foot.
This price usually covers all your main materials:
- Beadboard panels (MDF or real wood)
- Construction adhesive
- Brad nails or other fasteners
- Trim or molding for finishing the edges
So, for a typical 12×12 foot room (144 square feet), your DIY material costs would probably fall in the $360 to $860 range. If you hire a pro to do the work, you can expect to pay about double that to cover their labor.
Keep in mind that using the furring strip method will add a little to your material costs. The 1×3 boards themselves are inexpensive, but you’ll want to factor them into your budget. It’s a small price for a perfectly flat and secure result.
Should I Prime the Beadboard Panels Before Painting?
Yes, absolutely. Don’t skip this step. Even if your beadboard says it's "factory-primed," I always recommend applying your own high-quality, stain-blocking primer. I’ve seen too many projects where wood tannins start to bleed through a few years later, leaving ugly yellow spots on a beautiful white ceiling.
A good coat of primer does three key things:
- Blocks Stains: It stops any natural oils or knots in the wood from bleeding through your final paint color.
- Ensures Even Color: It gives you a uniform base so your paint looks consistent and rich across the entire ceiling.
- Improves Adhesion: It helps the paint grip the surface better, which means you get a more durable, long-lasting finish.
What Is the Best Tool for Cutting Holes for Lights?
For cutting clean circles for recessed lighting or ceiling fans, nothing beats a drill with a hole saw attachment. It's fast, precise, and gives you a much cleaner cut than you could ever get with a jigsaw.
Just measure the diameter of your light fixture’s housing and pick a hole saw bit that's the exact same size. Before you install the panel, mark the center of your hole on the front (the finished side) of the beadboard. Drilling from the front to the back will give you the cleanest edge with minimal splintering on the side everyone will see.
At Edinhart Realty and Property Management, we help homeowners make smart decisions that increase their property's value, whether they're planning to sell, rent, or simply enjoy their home. If you're wondering which renovations offer the best return or how to manage your rental property effectively, visit our website to see how our expertise can benefit you.


